


|
Flower Garden Painting
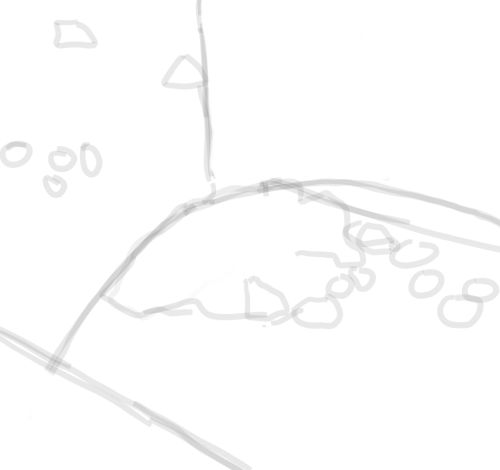
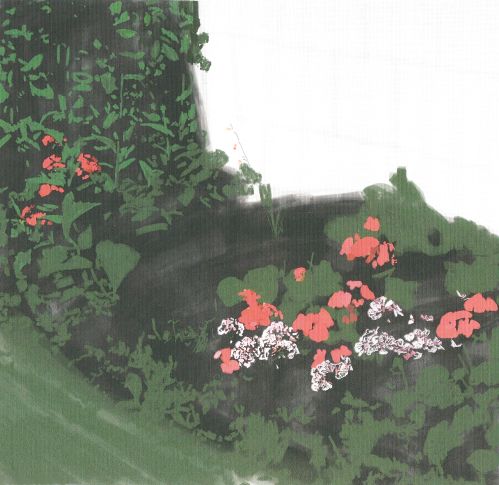
Flower Garden Painting is one of my favourite activities. I was lucky enough to be asked to record details of a huge garden for a lady who owns a magnificent house in North Yorkshire. The work in this lesson is one of the pieces. I chose an attractive corner with a fine old wall framing it. Despite the grandeur of the garden as a whole the owner was more delighted with the smaller, intimate scenes than the larger works. I suggest when doing your own flower garden painting you bear this in mind. There is often great charm in quiet, undisturbed areas of a garden. At each stage I allowed the paint to dry before commencing the next stage. I worked directly on the canvas. 1, An oil sketch. A little black, diluted heavily with turpentine. I am showing the main areas of the foliage and flowers and the edge of the lawn.
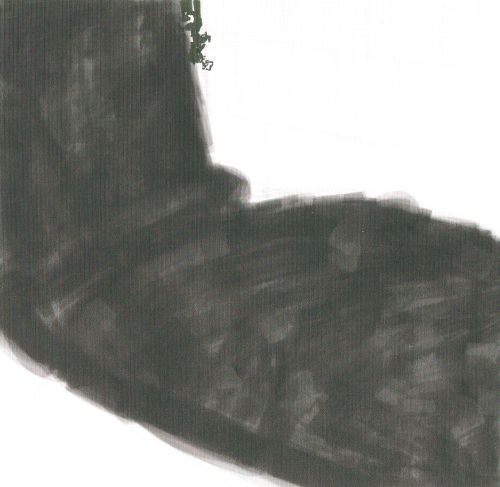
2, I block in the darkest parts using viridian with ivory black.
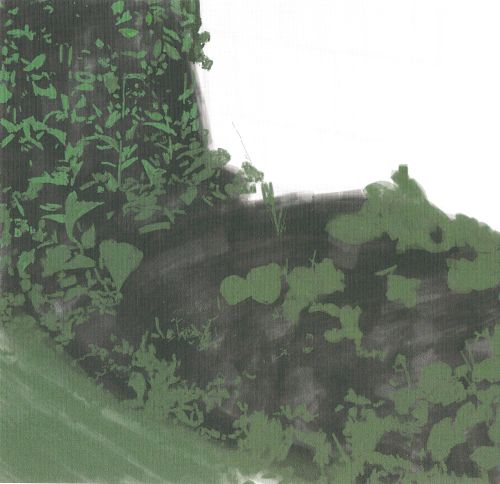
3, Pure viridian provides the mid tones for all the foliage. I make an effort to 'draw' individual leaves where possible. The viridian makes a good base colour for the lawn.
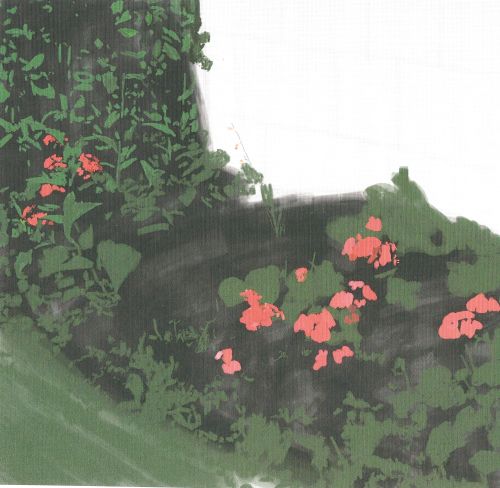
4, I use cadmium red with a small amount of blue and burnt umber to add flower shapes.
5, I mix a pink using the previous red and dab it on with a filbert. I add touches of zinc whie with a little of the pink in it.
6, The yellow flowers are a combination of sienna and cadmium yellow. I started with dabs of sienna and added yellow to it until I ended up with pure yellow for the lighter petals.
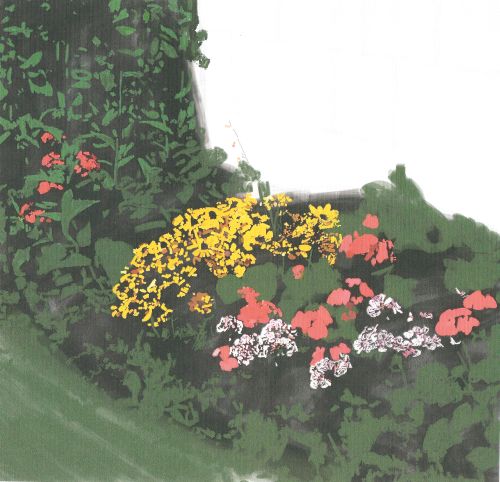
7, Now I mix shades of lilac and purple from cobalt blue and cadmium red.
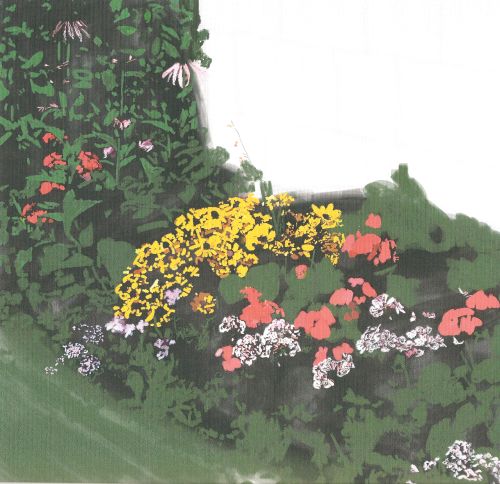
8, The wall is blocks of beige and grey. I didn't try to replicate the actual colours of the wall. I played around with the mix until happy with them. I built them up by diluting the paint with mineral spirits. I can do this at this stage because I am working on the raw canvas.
9, Now I begin the long process of adding lighter colours to my flower garden painting. Here I have started with the lawn. I fleck paint in little dashes and dabs across the canvas bit by bit, working through various shades. This is the beginning of the end, so to speak. It is the most intense period of the work, where I get into the details. That said, the details aren't difficult to achieve. The base colours are all in place so as long as I add lighter tones I can't really go wrong.

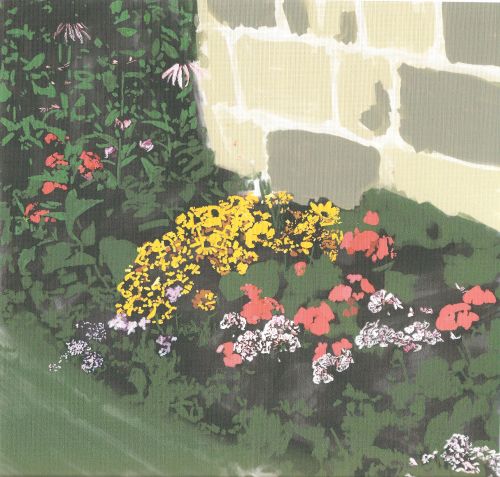
10, Back to the foliage and flowers. I add lighter colours across the board. Lighter greens greys and browns. I add a few extra flowers here and there and use plenty of white to add that summer look.
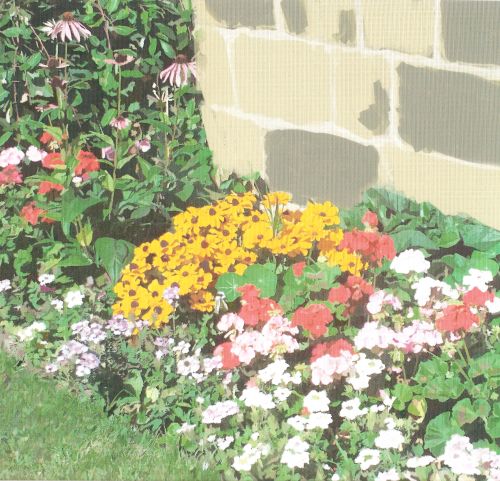
11, The wall is made up of lines and dashes, even though it does have the appearance of glazed paint it is no more than solid colour, carefully applied in similar tones to the base colours. This oil painting technique is good for depicting solid subjects without the need to build up layer on layer.
12, Finally, I await the paint to almost dry before using a decorators brush to smooth out harsh lines.
I hope you get something from this lesson that aids you in your own artistic efforts. Feel free to visit any and all of the lessons on from-sketch-to-oil-painting.com I'd be delighted to hear about you and your work.
Back to Painting Flowers from Flower Garden Painting
Home
|

Browse other gifts from Zazzle.