


|
Tree Drawing Tutorial
In this Tree Drawing I was attempting to establish accurate tones to further develop in a painting. More often than not I work out tone while underpainting but occasionally if there are very subtle OR little changes of tone in my subject I use pencil. Pencils are ideal for this. I feel I have much tighter control this way. It is also easier to judge the difficulties inherent in any subject. For example in this scene there was very little difference in tone between the ground and the two nearby trees. Reproducing the exact tones would drown what I was hoping could be an interesting scene. I knew that I would need to recreate the tones in both the ground and the trees and then decide which feature was the most important, which I wanted to emphasise and which to tune out. Had I just worked in a hyper realistic manner the Tree Drawing would appear flat, not the effect I wanted.
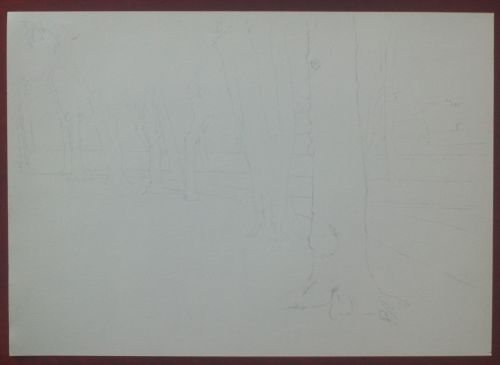
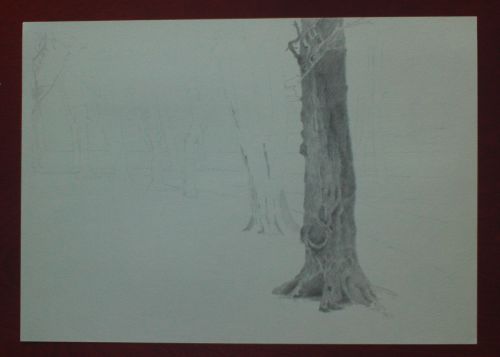
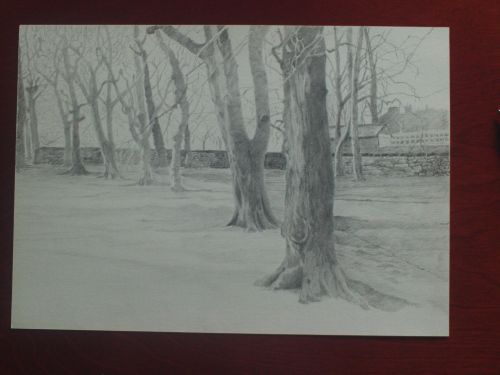
I used a HB pencil for the initial line drawing, a 4B for the tones and 80lb A4 cartridge paper by Daler Rowney. I used a Winsor and Newton putty eraser. Tree Drawing Stage 1 1, I sketch in the tree trunks, paths and walls. I also lightly indicate some buildings behind the wall.
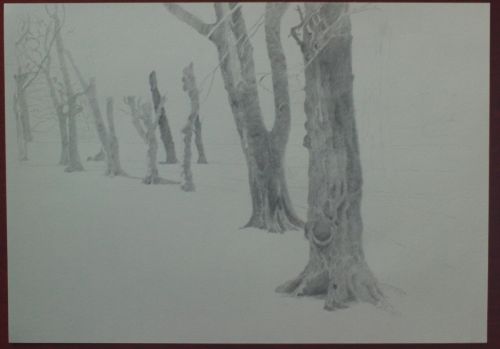
2, I use the edge and point of a 4B Derwent Graphic pencil to draw detail and shade the nearest tree trunk. I pay attention to the darkest and middle range tones. I'm not attempting to draw in each visible feature of the tree just the broader areas. Look to the left hand corner. See the little light shading? That's a reminder to fade the tones as I go backwards. I tend to try to work realistically naturally so little visual reminders like this remind me of what I am trying to achieve. A balanced scene.
Drawing tip: If you sharpen your pencil with a craft knife you can create more edge to your pencil point. Not essential but it can make your task that little bit easier. 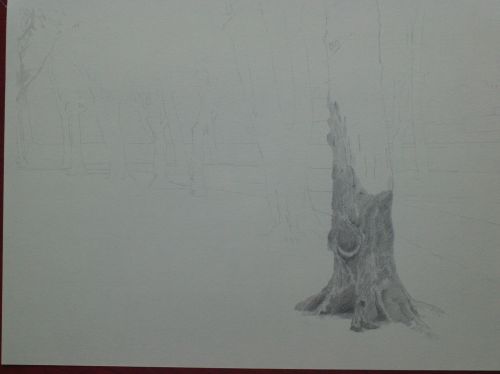
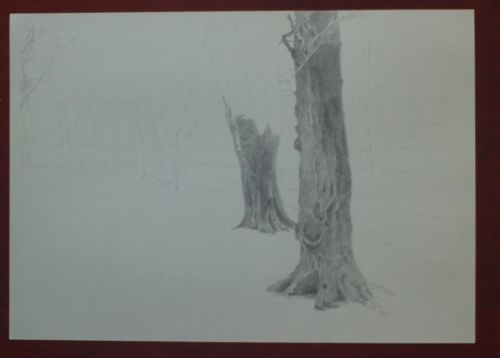
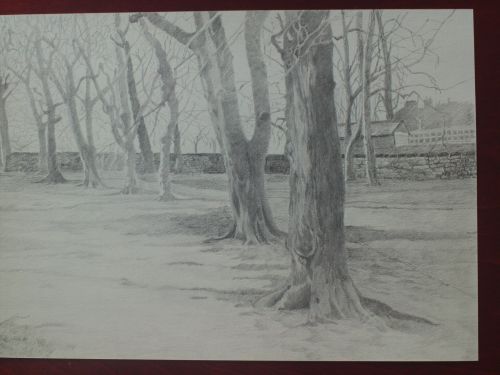
3, I carry on up the tree using vertical lines to indicate features of the trunk and shading. Near the top of the tree note the lighter branches made by leaving lighter areas of tone.
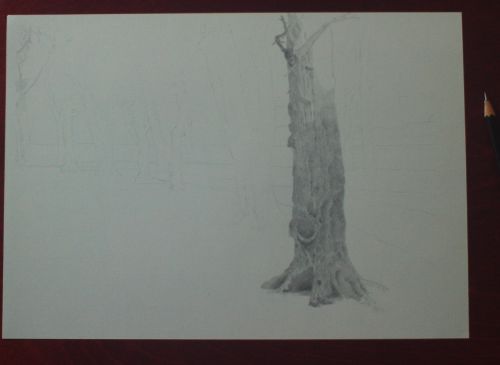
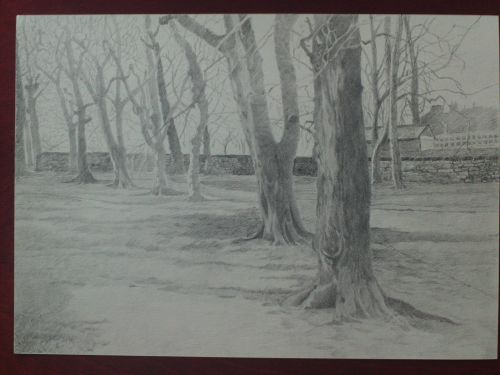
4, I finish this stage, making the lighter branches crossing the trunk stand out a little more.
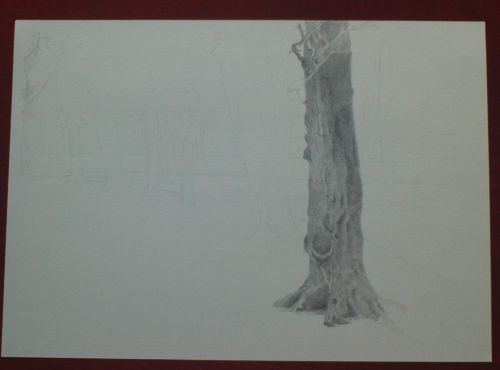
Tree Drawing Stage 2 5, I switch to the next tree using carefully and gradually built up tones.
6, Same idea
7, I work on the background trees in a looser style with less variation of tone.
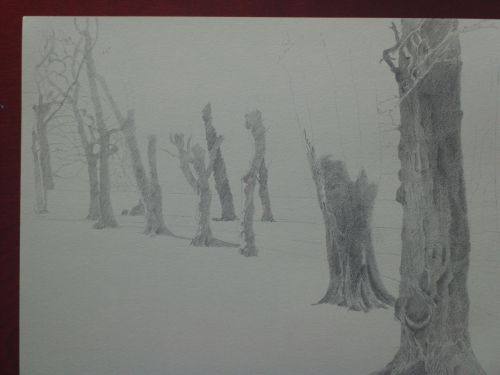
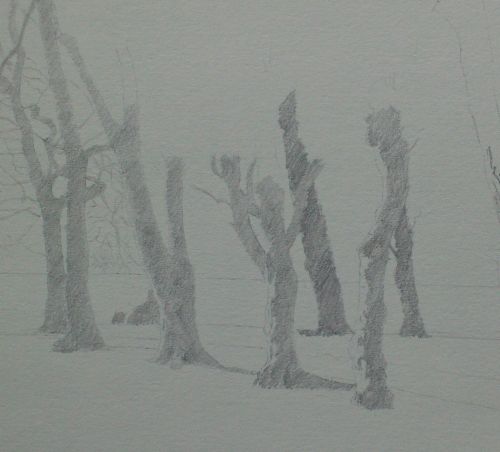
8, This close-up shows where I show light from the left striking the trees. Note how the branches grow from behind as well as from other places. Beginners tend to draw branches shooting out from the sides of trees and nowhere else.
9, Switched back to the second tree. There is variation of tones but not too much.
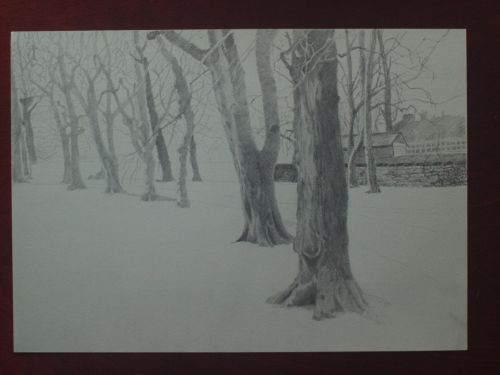
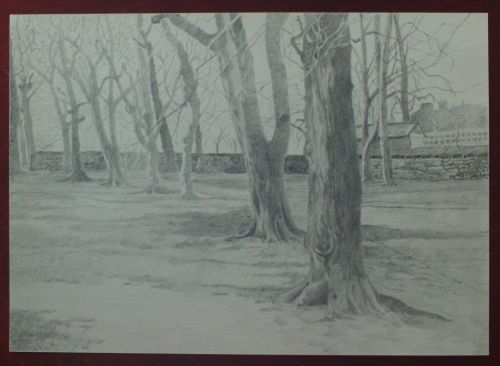
10, I add tone to the wall and do what we are rarely told to do and draw many individual stones of the wall. In a stand alone drawing I would probably use areas of shading and ignore the stones but this is a study of the scene. The details may yield gold later when I begin to paint. Remember a preparatory drawing is exactly that. It prepares you for later work. Add whatever details you think may be relevant to you. I draw in an old garage and some trees that stand behind the garage.

11, With soft lines I rapidly sketch in distant houses.
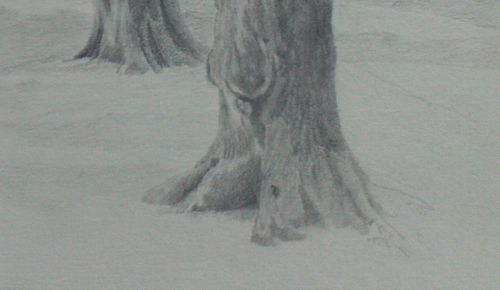
12, We'll pause a moment to look at the base of the first tree. Note how broad the roots are and how they spread. This makes the tree look well established and ages it. Note the roots disappear below the ground. This is a good drawing tip. Remember trees have roots that are thick and deep. They don't float over the ground, they are extremely well anchored. If I get the ground below right the roots will look even better.
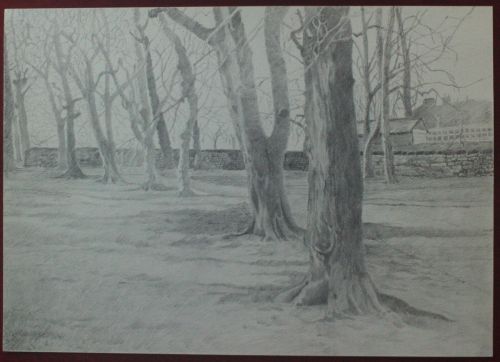
13, Back to the wall. I use loose strokes and vary the tone across the length of the wall. I draw individual stones where I judge necessary. My goal here is to keep the trees visible against the wall where in fact they pretty much vanished in reality. I begin to add tone to the ground. I'm adding shadows and trying to follow the contours of the ground. Remember what I said about deciding what to emphasise? I will need to build the tones into a close approximation of the scene before deciding which elements I want to strengthen.
14, Be careful not to build up too quickly or you may damage the paper. The next eight illustrations show how subtly and slowly I worked. Tree Drawing Stage 3


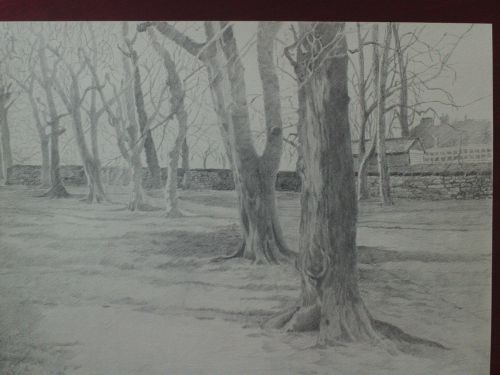
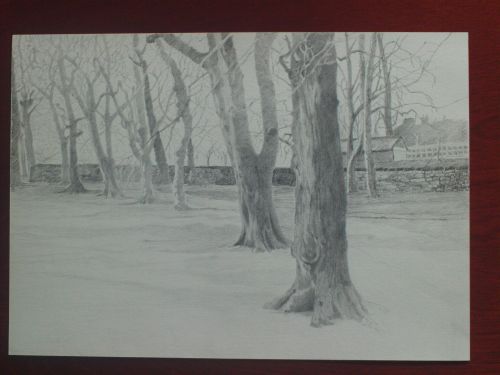
15, I decide the trees are the stronger elements of the drawing and lift out some pencil with a putty eraser. I lift from the ground and other areas I want to lighten. I deepen tones here and there trying to depict the contours of the ground.
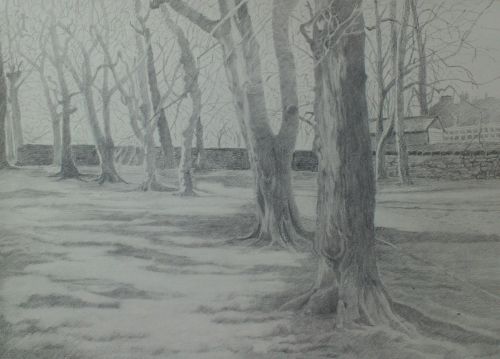
In conclusion I now have a Tree Drawing that helps me to understand the various elements in the scene. I now know where I need to emphasise and where I need to tune out. This is a good starting point for a colour study or a fully tonal drawing where there is no line work at all. I will cover how to do this in a future tutorial.
Return to Landscape Drawing from Tree Drawing Home
|
