


|
Butterfly Sketch
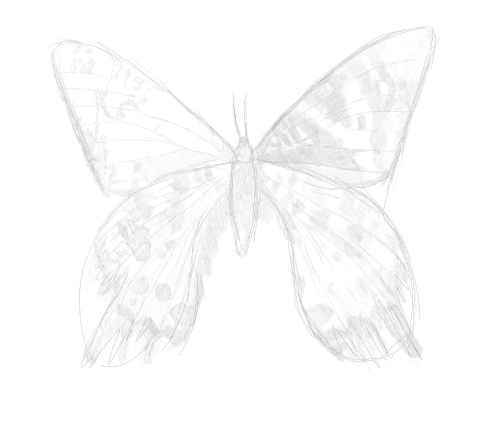
Make an effective butterfly sketch by following this free drawing lesson. I recommend using cartridge paper and a HB pencil. As the lines are all uniform a mechanical pencil is the better choice. Use scrap paper for the breakdown in steps 1-5. You will also be tracing so have tracing paper handy. We will be using hatching, some cross hatching and dashes to build up tones in this step by step drawing. 1. Start your butterfly sketch by constructing simple guidelines. Copy this cigar shape. The little circle at the top is where the head will be.

2. Sketch the antennae and upper wing which is large and sail like.

3. The second wing is similar but don't make it a mirror image.

4. The lower wing is a different shape in this species. This is true in all butterflies but is very marked in some.
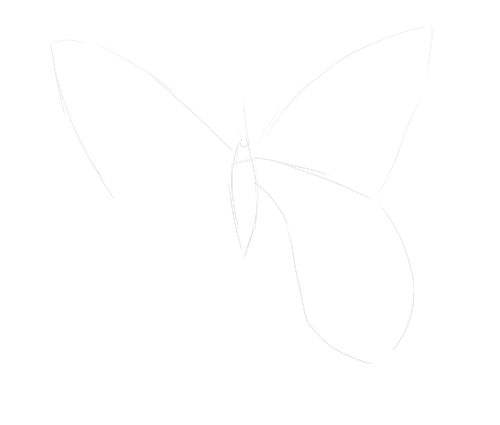
5. Draw the remaining wing.
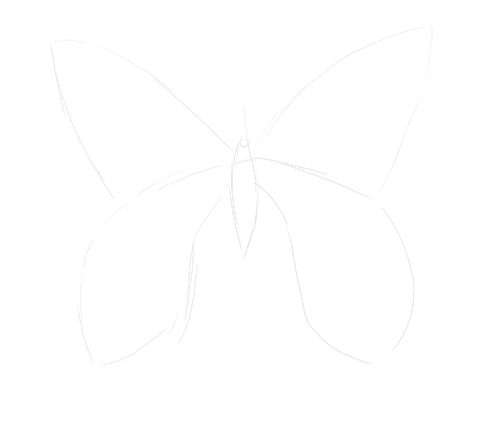
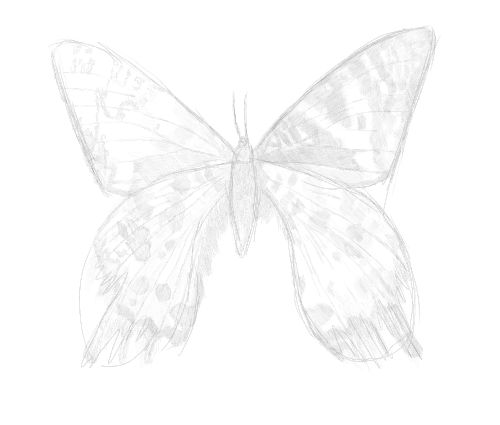
6. Switch to your cartridge paper and trace the butterfly onto it. Do this loosely. We are aiming for a sketchy effect.
7. Now use hatching and dashes to build up tones on the wings. It is important to carefully observe the markings on wings even for a relatively simple butterfly sketch like this.
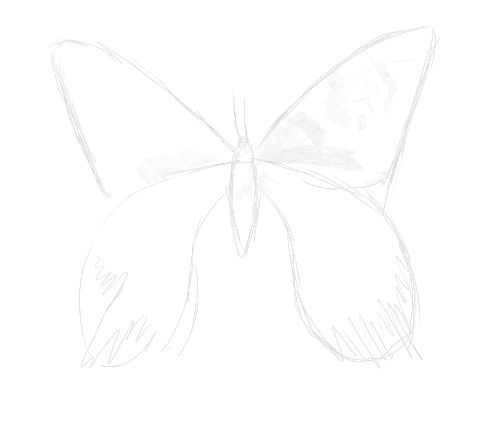
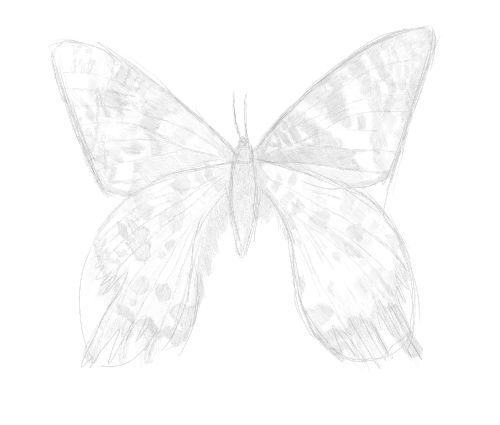
8. Switch to another wing. I think it is best to work on different parts of the butterfly like this rather than finishing one part at a time. It keeps me from being too heavy handed and impatient.
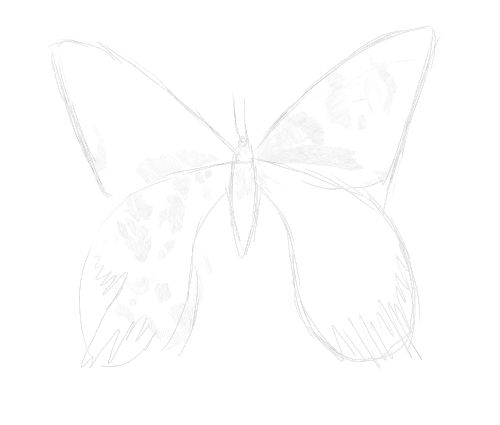
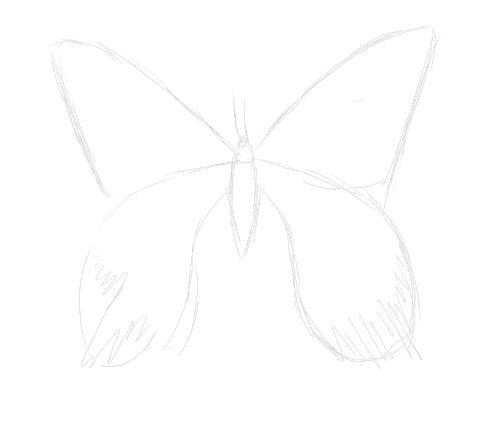
9. The butterfly has a feathery effect on its lower wings. Sketch these as wavy lines.
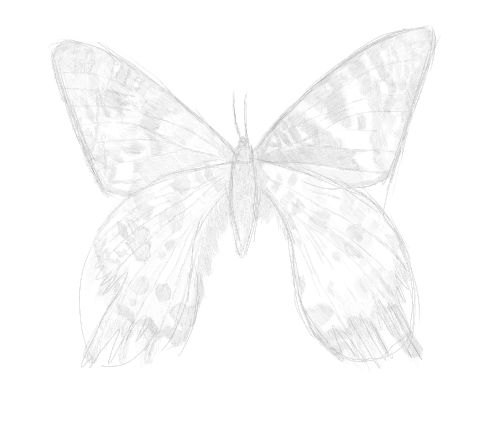
10. Continue in this manner at the bottom of the wing. Note I am beginning to sketch in veins.
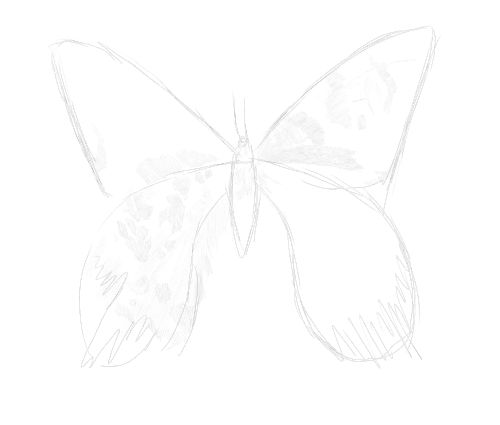
11. Do the same for the opposite wing and then define the upper wings along the edges. Add veins as shown. Also begin the slow process of adding fur to the body with short overlapping lines.
12. Add patterning to the left wing. Don't use solid areas of tone. Build up with hatching.

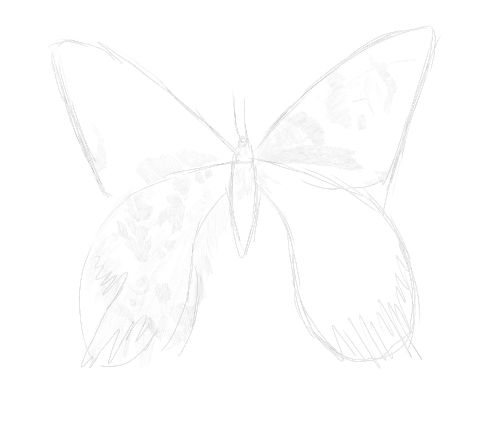
13. And the same for the opposite wing. Take care not to exactly mirror the markings. This would look unnatural.
14. Define the lower portion of the right wing remembering we are using graceful lines to add that feathery look.
15. Add more markings.
16. Now use a little more pressure to build up markings on the upper right wing. Use hatching and cross hatching.
17. Continue along the wing.
18. Now carefully add to the tip of the wing. Note the tones are lighter here.

19. Add a little more tone to the body as shown.

20. Start the process on the left wing.
21. See again how I vary the tone still using hatching.

22. I continue on the wing and then break off to add to the upper body again.
23. Add to the wing tip.

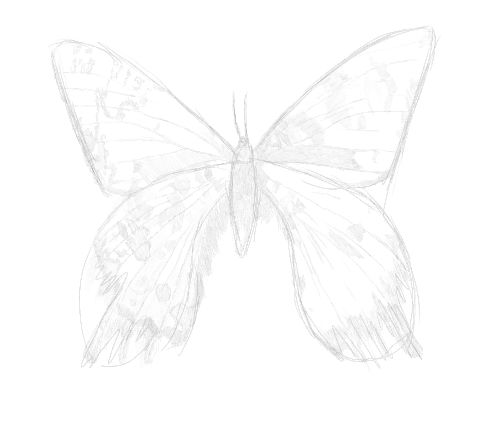
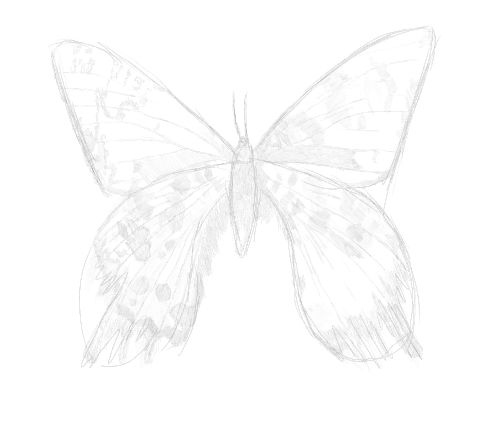
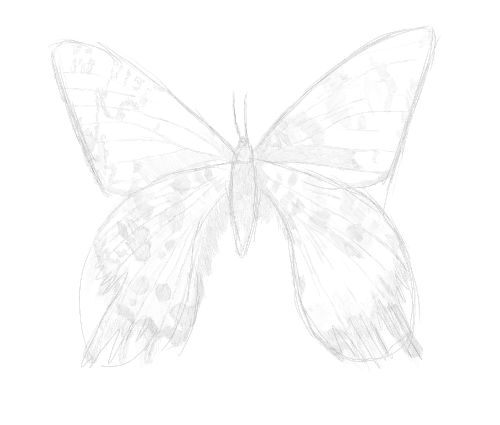
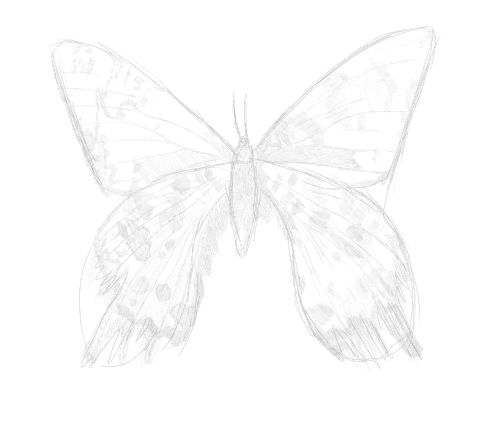
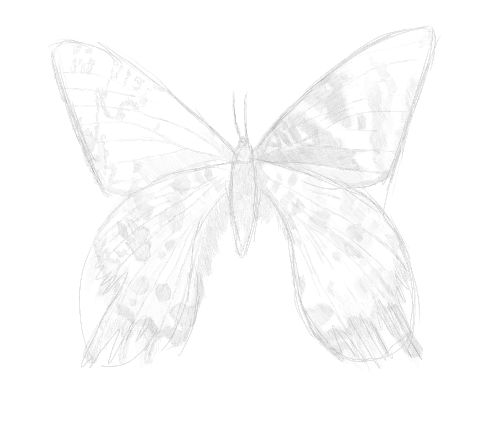
24. Carry on until the wing is covered at the tip.
25. Finally, go over the wing if necessary. I went over areas to ensure the wing matched up to the tone of its opposite without making it too similar.

Mastering how to draw a butterfly is one of a series of drawing and sketching lessons. If this is your first visit to my site be sure to check out my other pages. Please Upload your
butterfly sketch
Return to Drawing Animals from butterfly sketch Home
|
