


|
Dog Drawings in Pencil.
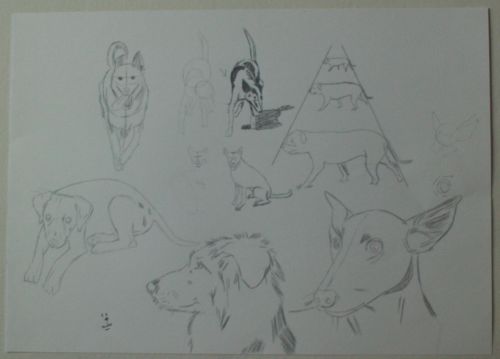
Dog Drawings Tutorial. Demonstrating breakdown, line and tonal drawing technique. Look at the following two drawings. The first sheet is what I'd call simple technical information about dogs. The basic anatomy that once learned helps me to sketch them quickly and accurately.
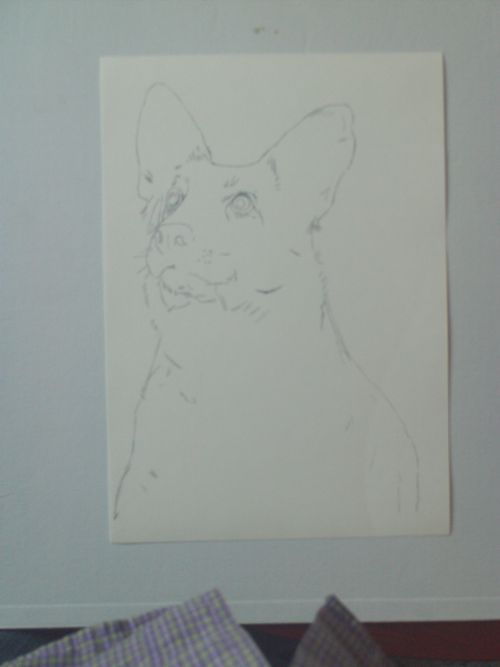
The second of my Dog Drawings is quite different. It's an animal portrait. A record of this particular dog's features and a glimpse into his personality.
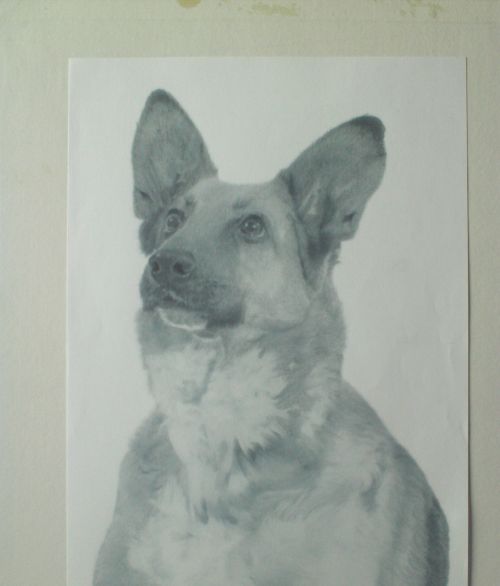
This is how I went about drawing him. I had some photographs but also made a few sketches and notes. I liked the way he tilted his head and his ears were slightly mismatched. Feel free to copy this.
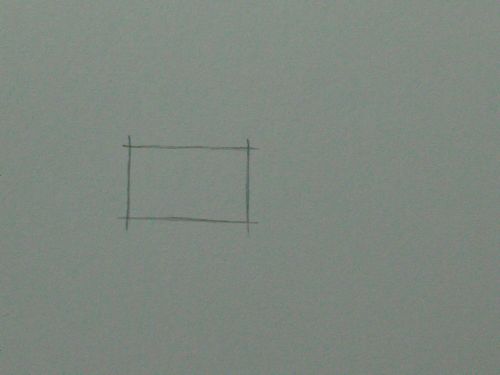
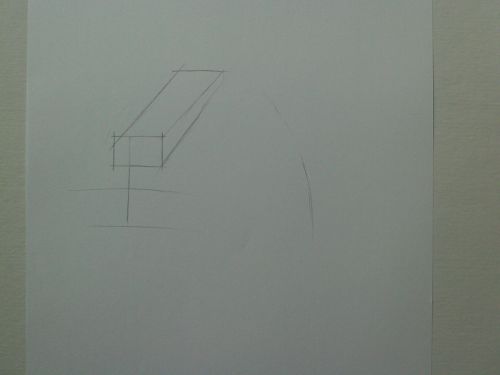
The BreakdownI did the breakdown in shapes on a sheet of typing paper, cartridge paper for the tonal drawing, HB and 6B Derwent graphic pencils. I also used a piece of chamois leather to smudge with an important part of this drawing technique. 1, A rectangle
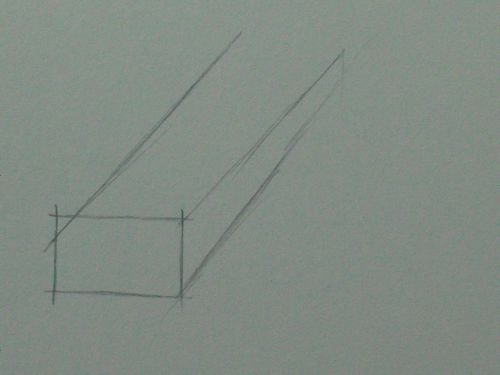
2, This will be the dog's muzzle. Note the shape broadens as it recedes rather than narrowing.
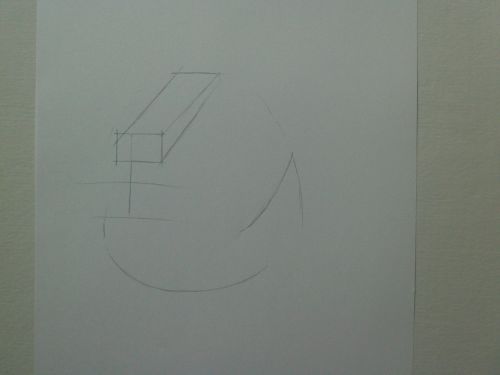
3, I square off the muzzle which marks the top of the dog's head, then I draw in where the side of the head and short neck will be. I indicate the mouth and lower jaw.
4, The lower curve marks the bottom of the neck. The one to the right is the upper jaw.
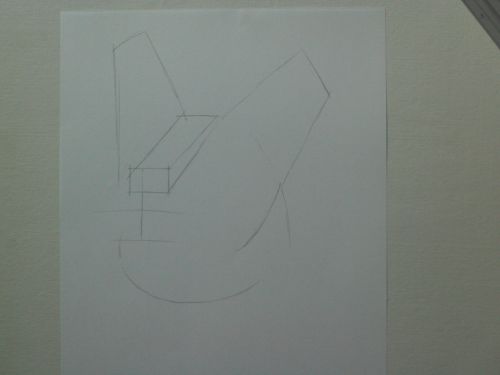
5, I sketch in the limits of the ears.
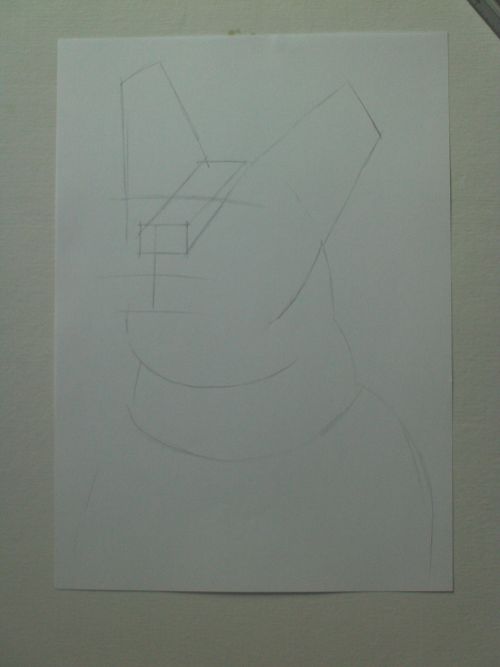
6, Here is the eye line and upper body.
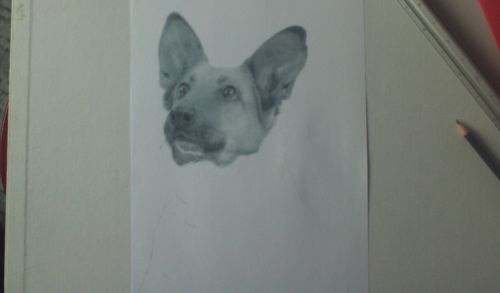
Line and Tone7, I use the shapes to help me draw a line drawing of the dog. This took me a few hours to get right.
8, I add tone to the eyes. This is one of the darker areas. This will be my guide as to how dark I will go. One of my most valuable drawing tips when making Dog Drawings or anything else is to establish your darkest tones first when doing a monochrome work. You can then judge all other tones relative to the darkest. If you think as your brightest highlights as bare paper or paper with only a tiny amount of shading on it and everything else between the two extremes you'll find it easier to judge each gradation of tone.
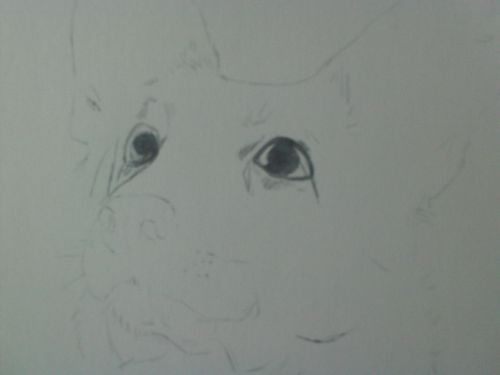
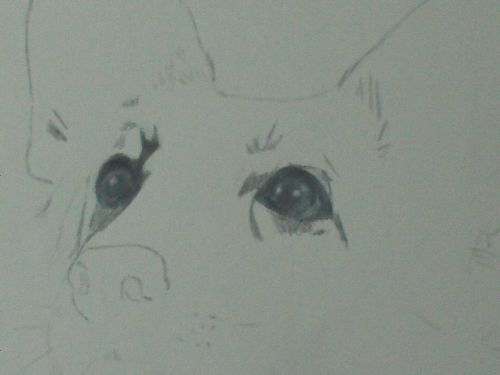
9, I define the eye and use a putty eraser to lift out highlights and lighter areas. You can blend with a cotton bud here if you wish but I haven't.
10, Now I work down the ears and head adding broad areas of tone and details where possible.
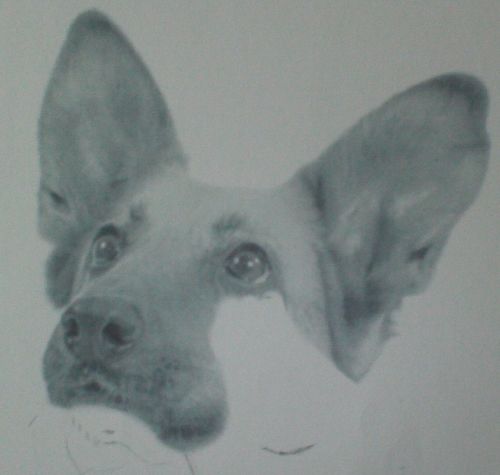
10, Now I work down the ears and head adding broad areas of tone and details where possible.
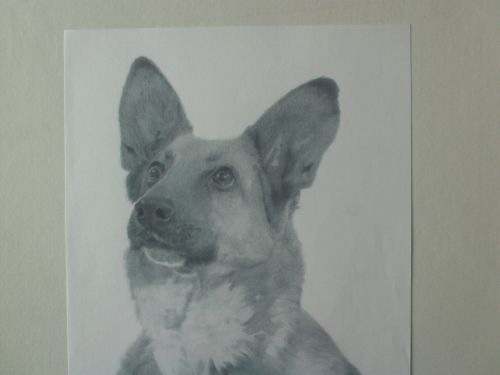
12, I add details and strengthen the darkest tones. I work my way downwards beginning to add broad tones to the chest. I am already developing a paler rather untidy patch of hair on the dog's chest.
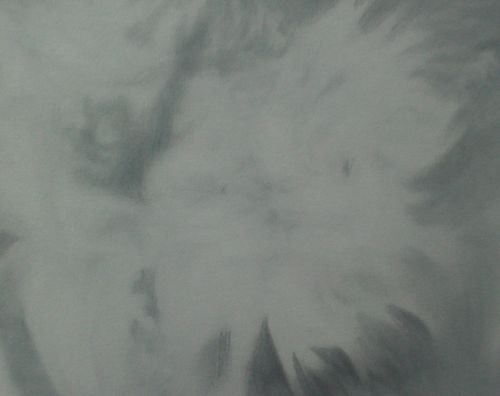
13, This is a close up of the chest. Where the hair is dark I use vigorous lines and where it is paler and denser I use smudged pencil. To get this I add little irregular shapes of tone and then smeared it with a chamois leather.
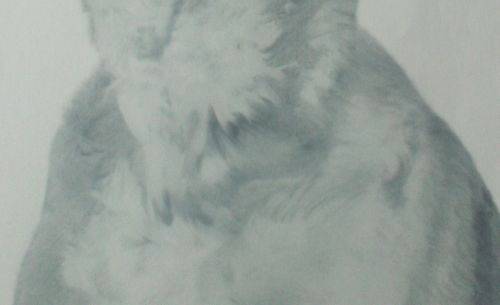
14, Another close up of the lower body using the same technique.
15, Finished. Click on the image for a larger view.

Return to drawing animals from Dog Drawings
|
