


|
Charcoal Drawing Techniques
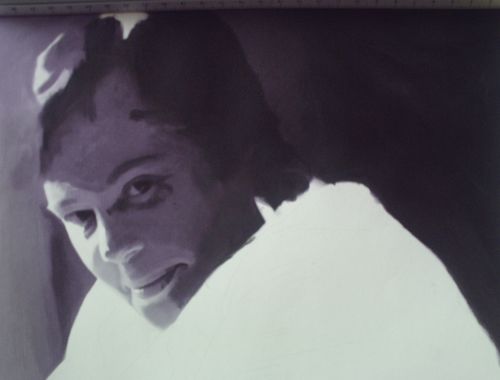
These charcoal drawing techniques are great when drawing and sketching any subject. This free drawing lesson is a portrait concentrating on the features of a middle aged woman. I am using vine charcoal, cartridge paper and a HB pencil. I use tissue to blend. I can wrap it around my finger or the tip of my pencil to blend. Blending is an important part of my charcoal drawing techniques. I also use white chalk for highlights and a putty eraser with sharp edges cut into it with a craft knife. This will enable me to lift out very precise shapes in the charcoal. The subject has strong light striking the face and front of her clothing. In order to show this effectively I will use middle range tones and very dark areas as a contrast. 1. I start with a pencil line drawing of the subject in HB pencil. The lines across the arm are showing me where the folds in the clothes will be. I had to ramp up the contrast on the photograph so that's why it looks rather strange. The actual pencil lines are very light.

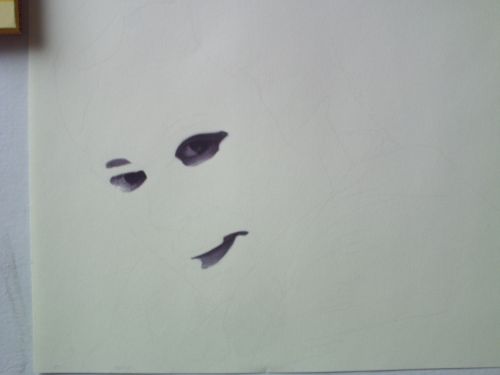
2. I build up tones within and around the eyes and do the same for the lips. I tend to draw in the darkest tones first and then work progressively lighter. Charcoal is unlike pencil in as much as you can go straight to very dark tones without much building up. I tend to work on one area of the drawing at a time because of this quality.
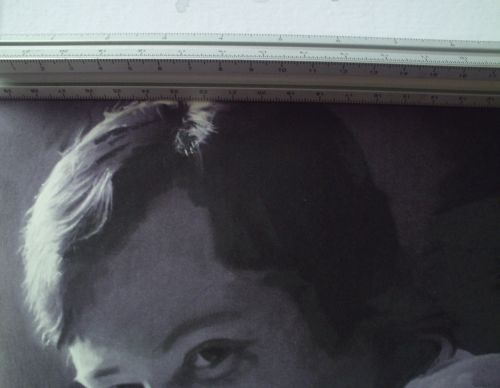
3. I add tone to the forehead. The darkest part is under the hairline.

4. I work in the darks on the right side of the hair. I work charcoal into the background. As the light is hitting the top left of the subject I am making that side of the background lighter and the other side will be very dark.
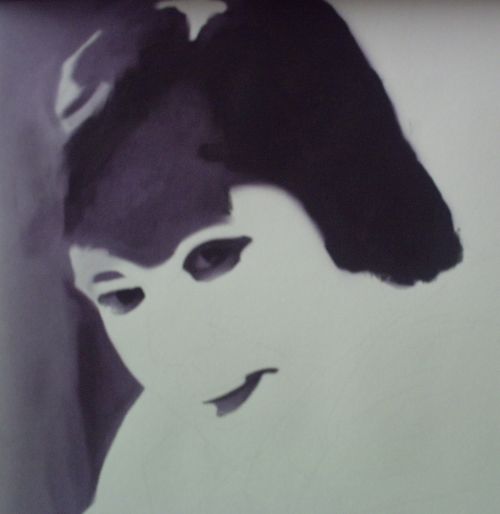
5. Here is the other side as dark as the subjects head except for a very slight lighter area at the rear of the head.
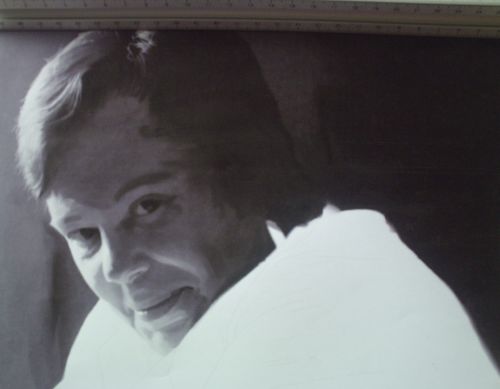
6. I work down the face blending as I go with tissue. Note the broad areas of tone. Really I'm applying tones across each plane of the face. I add highlights to the lower lip with white chalk.
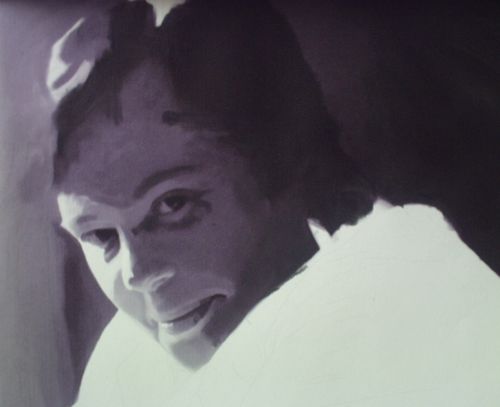
7. I step back and look at the drawing as a whole often. This is so I can keep an eye on the balance between darks and lights.
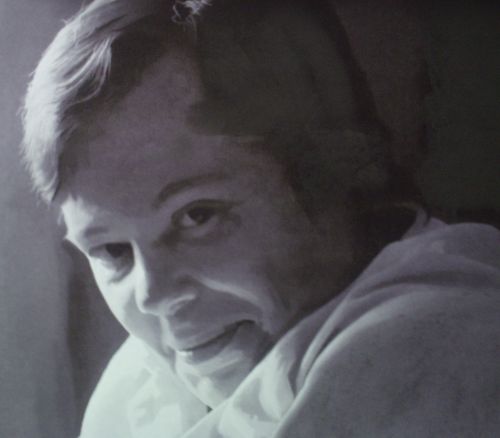
8. I "add" details by removing charcoal with the edge of my putty eraser. This is done slowly and carefully. I use the same technique on the hair but also add charcoal where necessary.
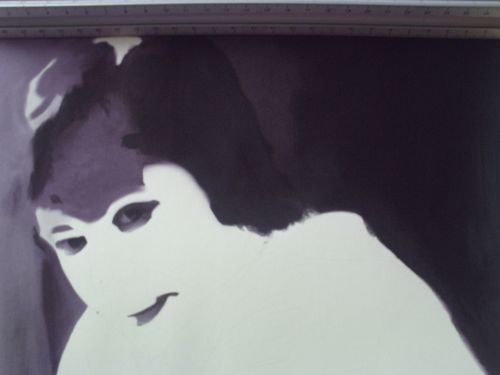
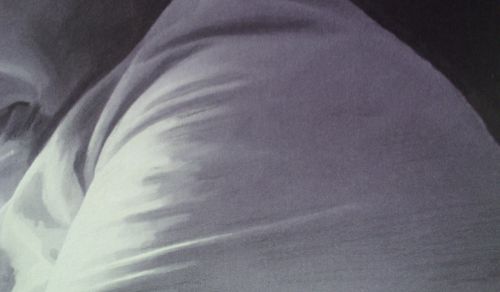
9. The clothes in comparison to the face are easy and were finished in about one hour. I add charcoal and blend after each layer until happy.
10. I work across the shoulder of the subject ensuring the clothes are somwhere in the mid range of tones. This will contrast well againt the extremes across the face and hair. The details where the clothing appears lighter are done as before by removing charcoal and adding where necessary. I also apply white chalk and blend it as well as leaving areas of the paper alone to act as highlights. Chalk is almost as important to these charcoal drawing techniques.
11. I use the chalk to add detail to the hair.
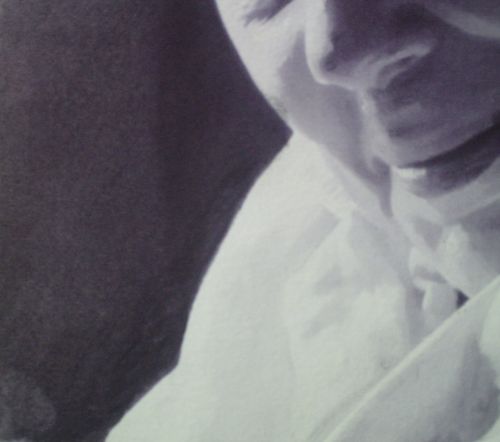
12. Using the same chalk technique I draw the folds of cloth stretched across the shoulder.
13. And here I add detail to the front of the subjects clothing.
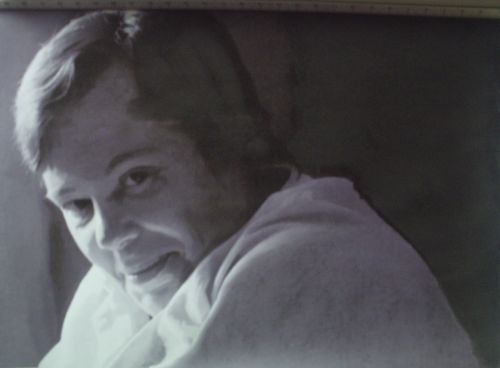
14. Finally I add extra charcoal where I need it. Specifically the right side background and back of the head. Click on the image for a larger scanned image that will open in another window.

These charcoal drawing techniques are easy to learn but require a fair bit of practice. Using charcoal pencils is a good way to start as they are easier to control than vine charcoal. I find vine makes very pleasing marks which can be blended into smooth effects. Adding chalks to your drawing is also a great way to add highlights and modify tones.
Home Return to Drawing Lessons from charcoal drawing techniques.
|
