


|
Dog Drawing.
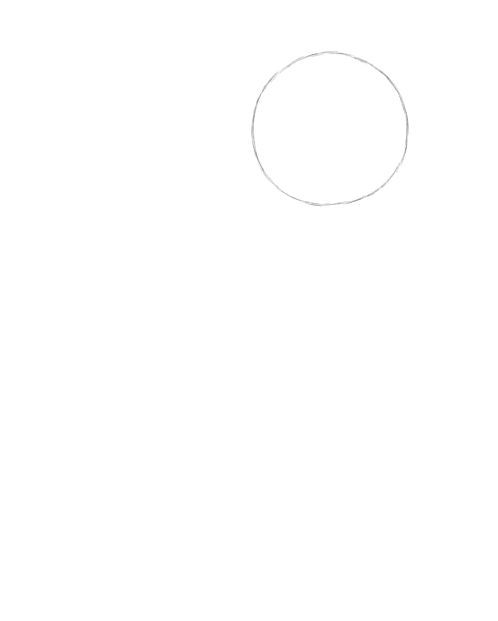
Dog Drawing is fun and easy when you know how. For this free drawing lesson you will need a pencil and paper. I drew on 95gsm cartridge paper with a 2b pencil. I traced the final drawing onto marker paper to make it easier for you to follow. If you draw the guide shapes faintly you will be able to remove them with an eraser and will not need to do this. You can work from a photograph for convenience or draw from life when making your own dog drawings. Follow this step by step drawing tutorial carefully. 1, Draw a circle for the dog's head.
2, Now establish the eyeline with a slightly upward curving line a little over halfway down the circle. 
3, Draw this small rectangle. 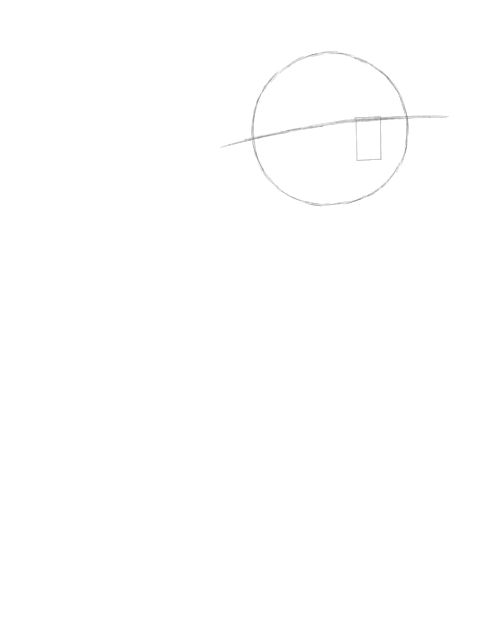
4, Now draw a square and the join it to the rectangle as shown. This will guide you when drawing the snout. 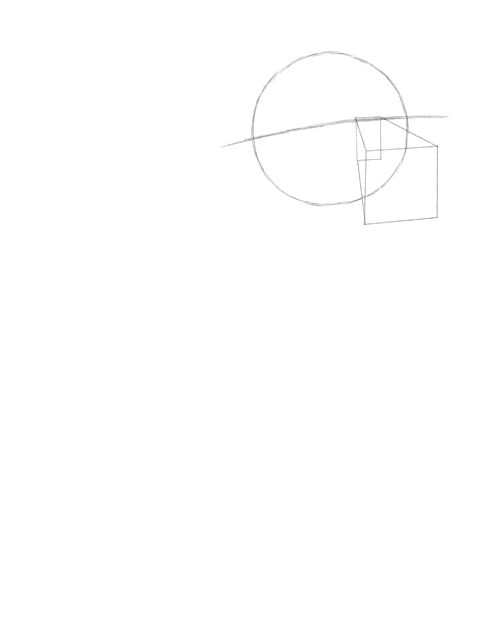
5, Now draw this pill shape. 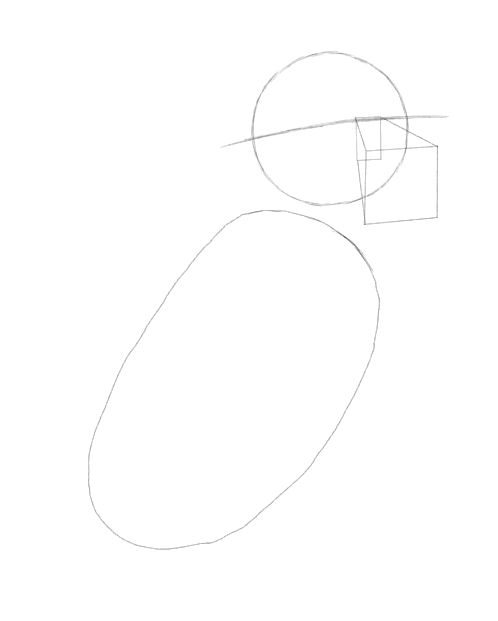
6, A long rectangle for the nearside leg. 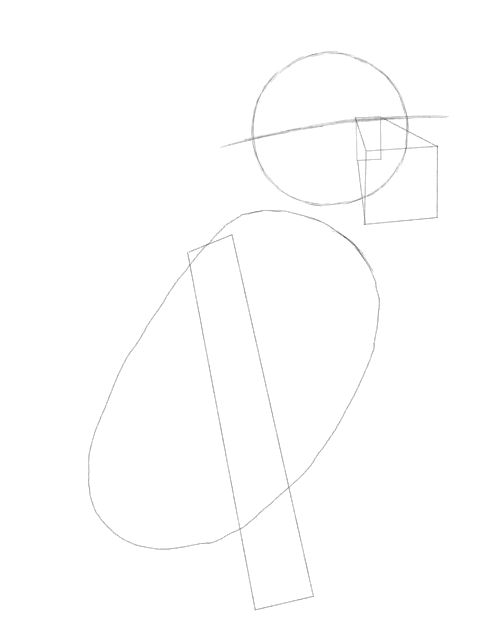
7, A second rectangle roughly of equal size. 
8, These two shapes will form the rear nearside leg. 
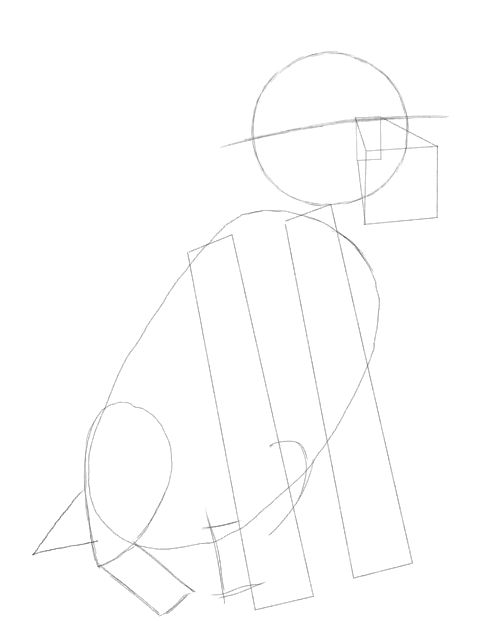
9, This line and rough rectangle will guide your drawing of the other rear leg which the dog has curled underneath its body.
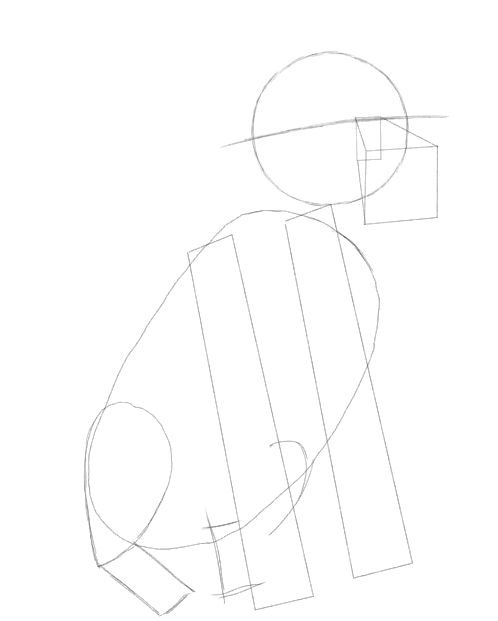
10, A triangle where the dog's tail stump will go.
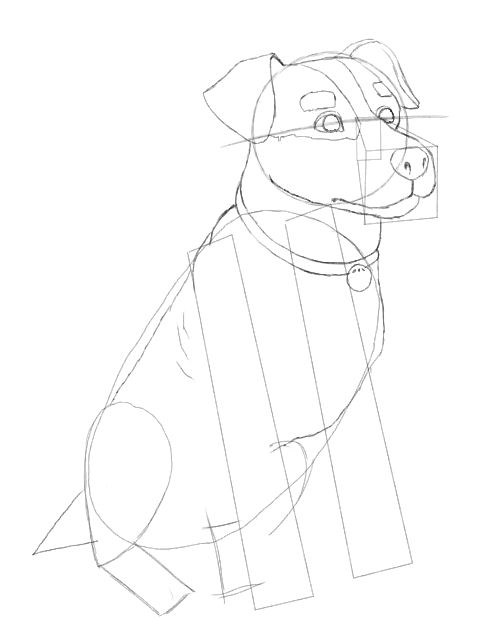
11, Now draw in the head and facial features as illustrated. I will leave you to draw the ears (which you see are triangular) without guides.
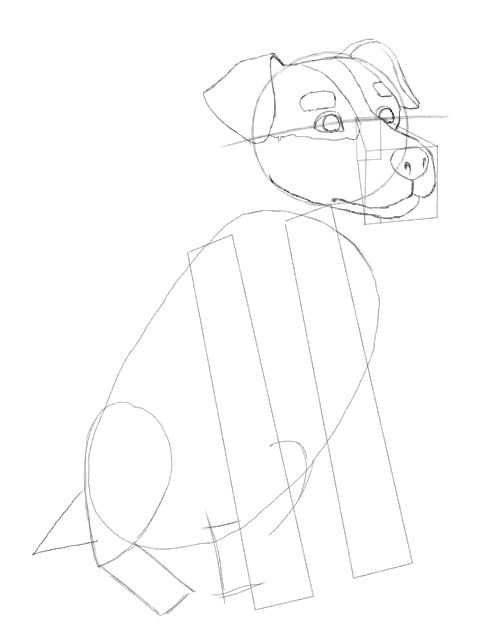
12, Draw in the neck and body. I have sketched a simple collar and tag.
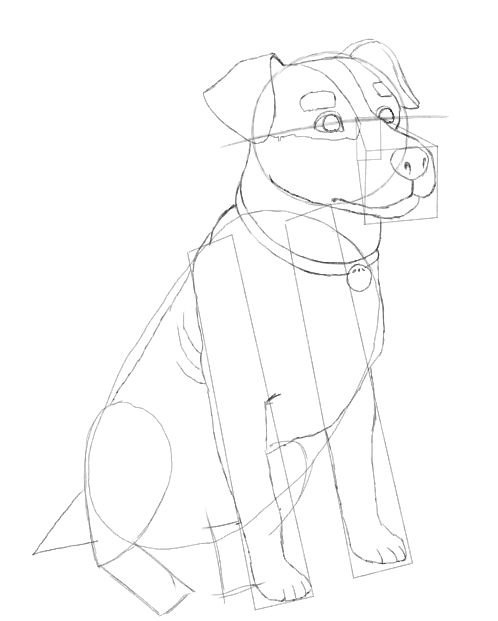
13, Now draw the legs using the guides to determine the length. I will leave you to decide how to draw in the paws without specific guides. You can do it!
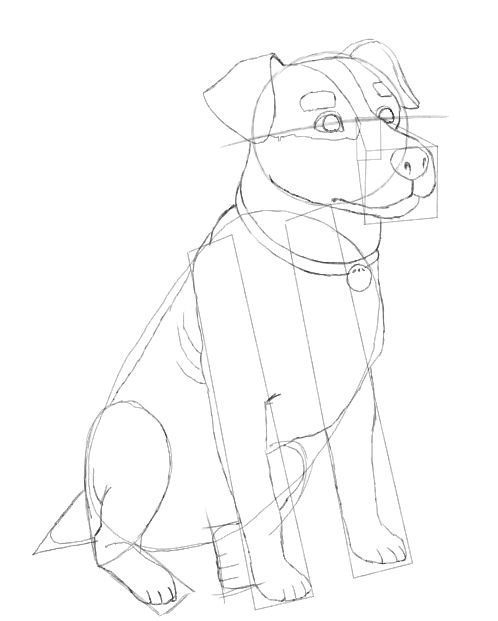
14, Finally do the legs and tail. The guides will do the job here.
15, The final drawing.

Here's another tutorial on If you have enjoyed this tutorial on Drawing Dogs please feel free to explore all the other free lessons on from-sketch-to-oil-painting.com
Return from Dog Drawing to Drawing Animals Home
|
