


|
Still life Art
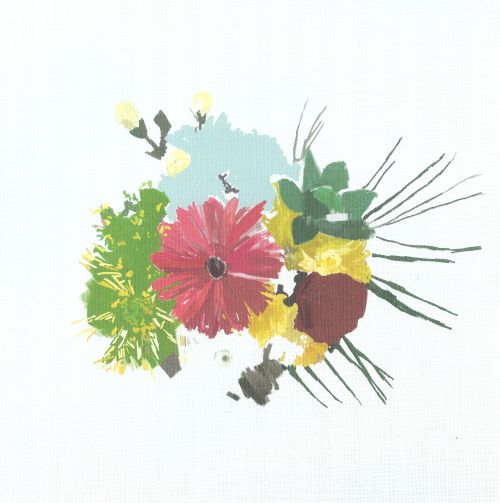
Before starting my Still Life Art I apply a thin wash of gray green on the surface, using mineral spirits to dilute the paint. 1, I sketch the basic shapes with well diluted black paint. Diluting with turpentine ensures the paint dries quickly. Each stage is applied after the paint is touch dry. This will vary depending on which type of paint you use. See Oil Painting Supplies for more information.
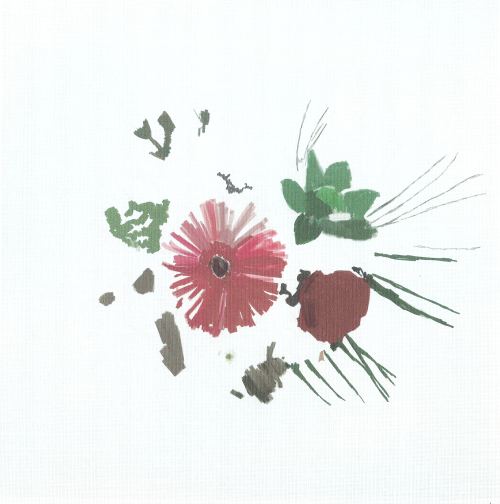
2, I add darker colours. Deep reds, greens and grays. I build these up fairly rapidly with paint thinned with linseed oil.
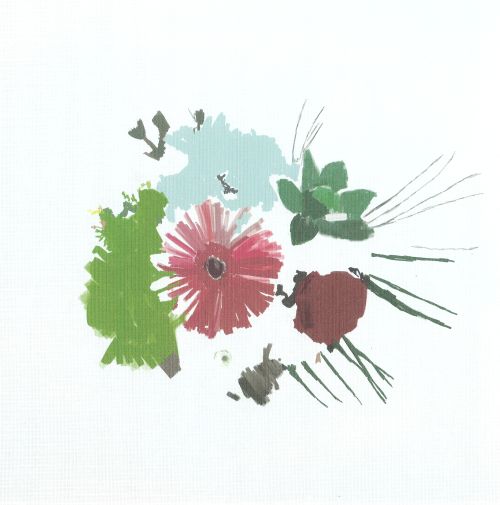
3, I add mid tones in blue and green, adding more thinner than I used with the dark colours.
4, I shape the petals of the main flower more carefully, using lighter tones of red.
5, I add yellows working up to lighter yellows working wet on wet. You will see the flowers are only blocks of solid colour. The trick is to get the shapes right and ensure the tones of the shaded area contrast well with the lighter areas, where we show the outer petals that are being struck with more light.
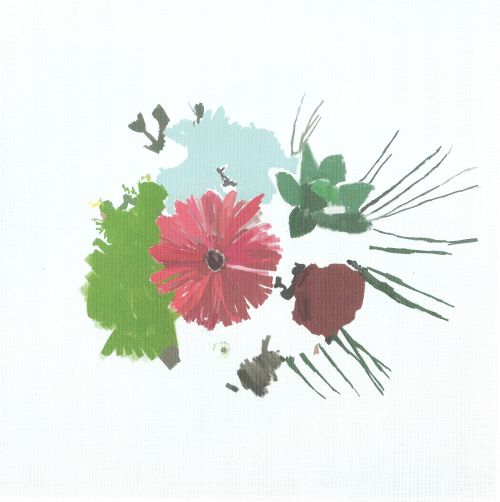
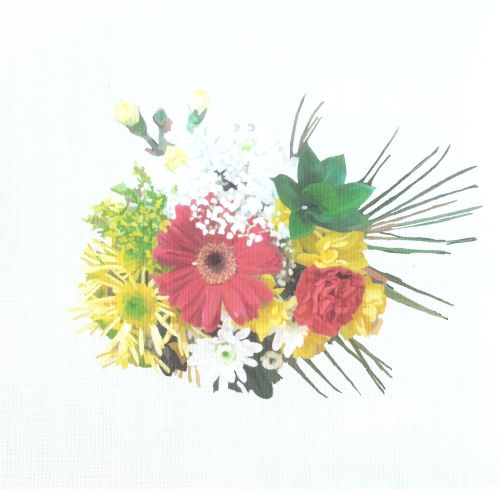
6, I add lighter blues, greys and some pure white to give the illusion of tiny flowers over the blue mid tones.

7, Now I add details across each area using progressively lighter versions of the main colours. This is the time to add highlights and to take care with the shapes of each stroke. I use round brushes at this stage.
8, Finally before the paint is quite dry I blend the sharp edges to make the colours merge slightly. I use a one inch decorator's brush for this.
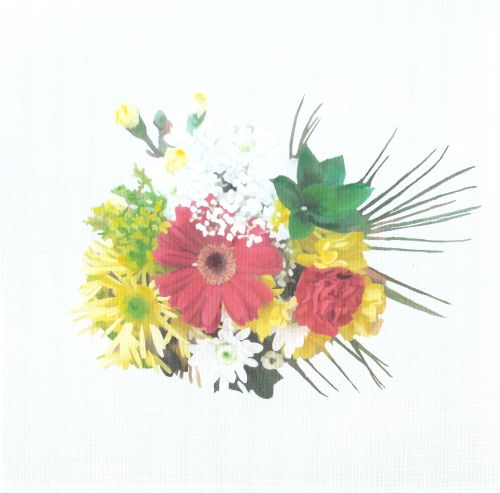
Still life painting is alive and well and is an excellent way to learn how to handle colour because of the great variety and subtlety of the subjects. Painting flowers is also a reasonable place to start if you are interested in producing greeting cards.
Back to Painting Flowers from Still Life Art Home
|
