


|
Drawing Children.
When Drawing Children proportion is very important. Probably more so than when drawing adults because a wrongly proportioned child will stick out like a sore thumb. The drawing below is of a two year old. The average two year old stands about 4 and a half heads high. Note I said about. We are drawing a living being not a robot. Please follow this example closely. It will show you how to draw children with confidence. I Work from a photograph because of the difficulties of getting a young child to pose for any length of time. Of course drawing children is like any other area of art. Draw from life whenever you get the chance.
1, Draw an oval to establish the size of the head. Here I divide the head straight down the middle and horizontally slightly below the half way point to give me the eyeline. Below I draw another line which is approximately one quarter of the length of the oval. This is where the nose ends. Now divide this quarter in two to give the mouthline. 
2, Now I have the head size I draw 5 parallel lines set at the same height as the head. Please note: You do not have to make these exact. People are not designed like machines or buildings. Small variations in size are normal so don't approach drawing children as if you are an architect designing an office block. Keep it natural. 
3, I sketch the upper arms like two sausages and indicate where the neck is. The shapes feel right to me. The subject is a slightly plump little girl as are most children of this age. 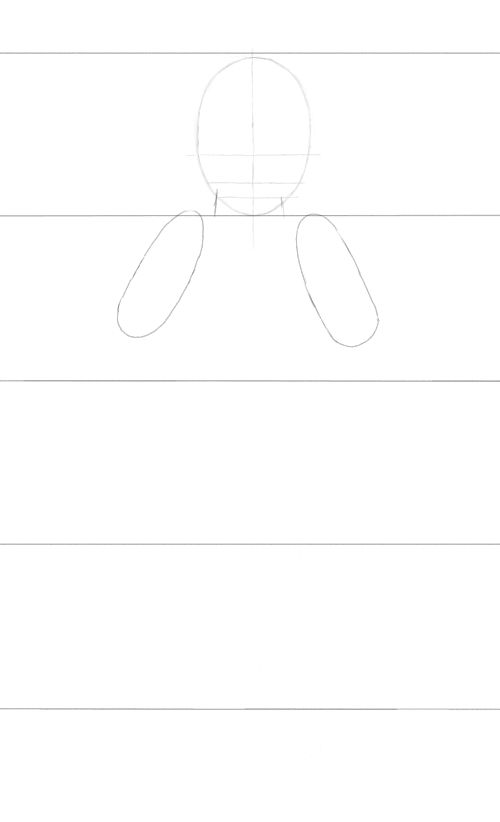
4, Now I roughly lay in the clothes in simple shapes. 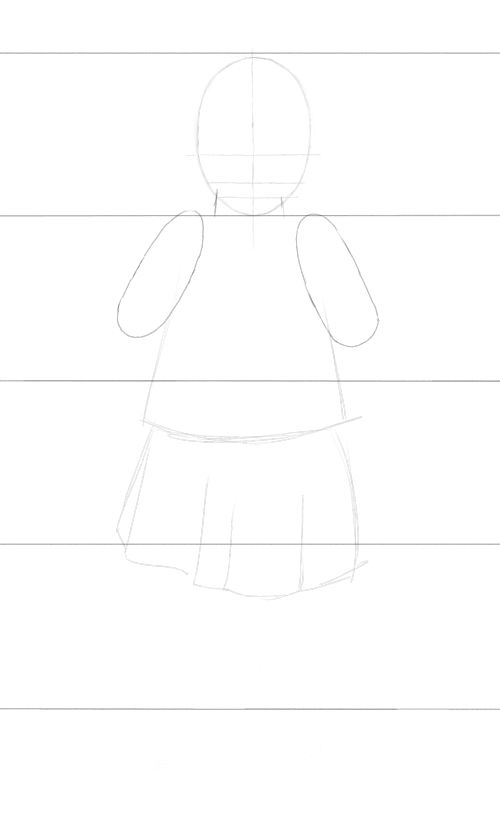
5, Upper arms and the hands. 
6, Legs and feet. Nice simple shapes are key. Note the feet reach below the 4 heads and stop before half way. 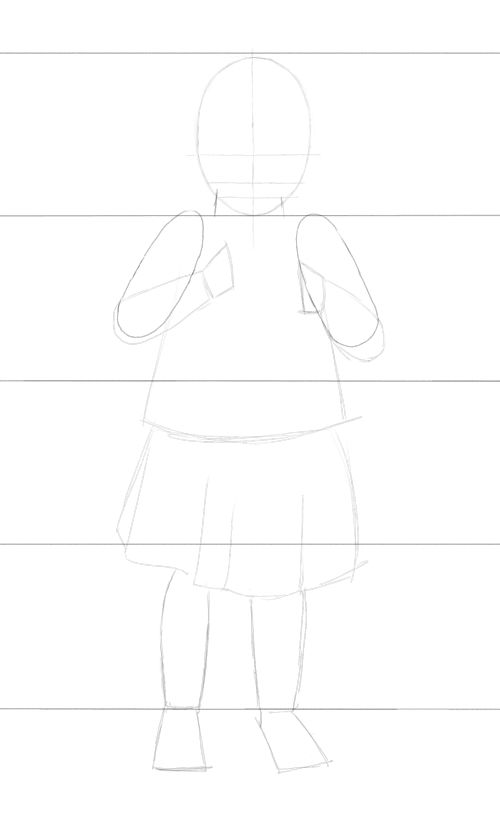
7, Time to add detail. I draw the clothing first but there really is no particular order you need to follow. Draw whatever you wish first when depicting details. 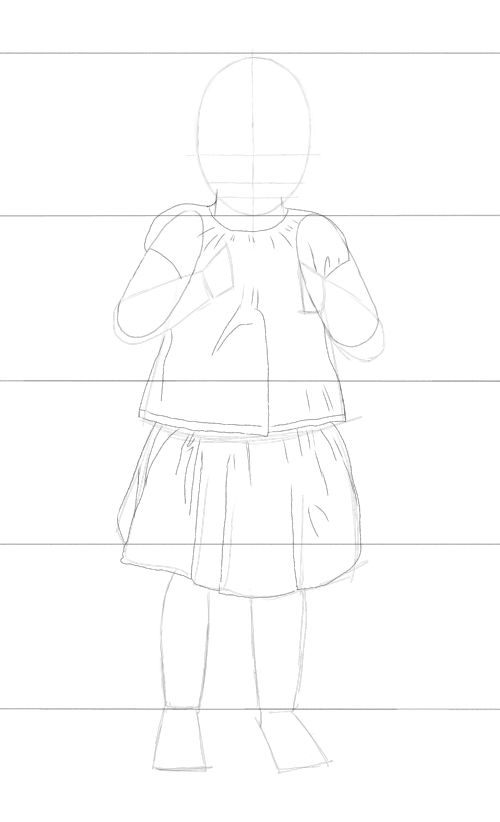
8, I carefully draw the legs and feet using the shapes as a guide. 
9, Head and face. Note the eyes are on the eyeline with the rest of the features on their respective lines. 
10, The hands are last. Toddlers have quite podgy fingers so make them a little like bendy sausages. Sausages again? I must be getting hungry. 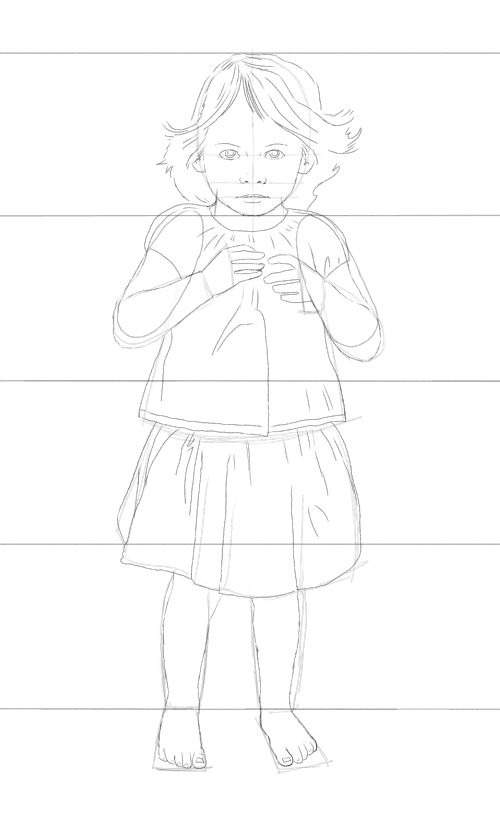
11, The final drawing without any construction lines. The drawing is ready to paint or develop as a more detailed drawing. 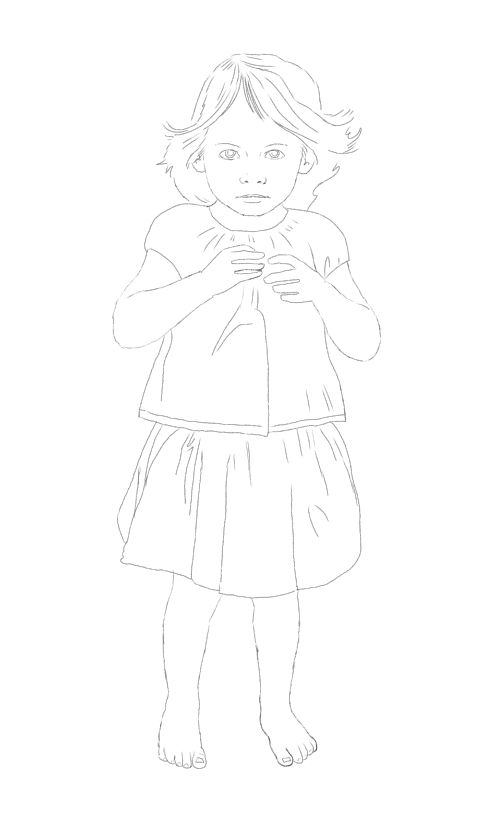
In this lesson we will concentrate on drawing a face at a three quarter angle. 1, Start with an oval. 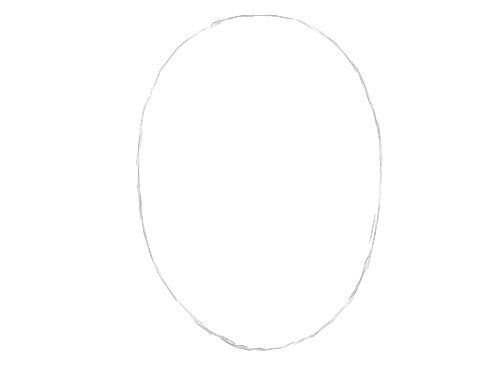
2, Draw a second oval roughly the same size. Note this oval is tipped on its side. 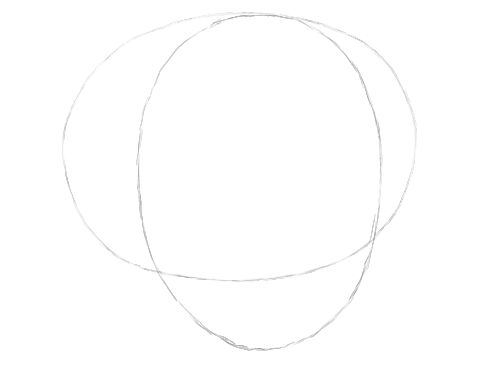
3, As we are drawing the face at the three quarter angle our guidelines travel over to the right side of the first oval. Aim to leave approximately two thirds of the oval on the left side. As in the first lesson draw a line splitting the oval in two to give you an eyeline. Draw another at about a third way down the oval for the nose and split the remainder roughly in two to give you the mouthline. This will vary face to face so your own judgement must come in here. 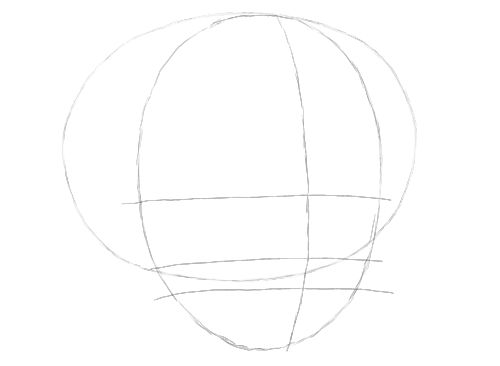
4, Draw the eyes, nose and mouth along their respective lines. Now this bit might be tricky but it is here you really need to concentrate on your subject. Draw the edge of the forehead and side of the face. Children tend to have rounded faces and curves to their cheeks. Note that my drawing leaves the oval in order to capture the shape of my subject. This is what I mean when I say there is no method or system to my tutorials unlike some you may have seen online and in books. You are learning to draw not following something gimmicky and in the end ineffective. Use the shapes as starting points only. I sketch in the shoulder only so the head doesn't look entirely disembodied. There's no real need to do that here but it's what I personally prefer to do. 
5, Time to use the second oval. The curve on the left tells me where the side and back of the head disappear from view. I use this to lightly sketch the back of the head and the one ear we can see from this angle. I draw the hair in. 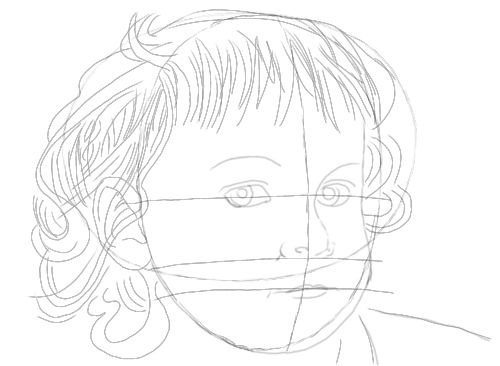
6, Here I have removed the guidelines and ovals so we can look at the result clearly. Everything looks accurate. Drawing children is easy. 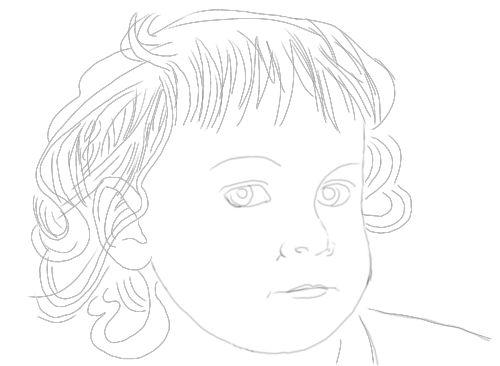
7, Just for my own benefit I add a little tone to lift the drawing. It is ready to develop into a more complex drawing or use in a painting. 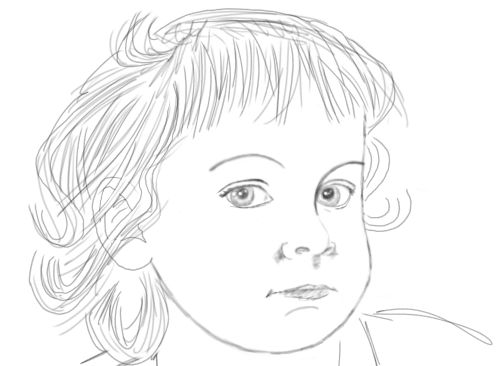
The last lesson is drawing a face in profile. We use the same method of ovals and guidelines but slightly differently. The difference is quite important. 1, This oval, you will notice, is more rounded. You will find this easier when drawing children in profile. 
2, Draw your second oval as illustrated. 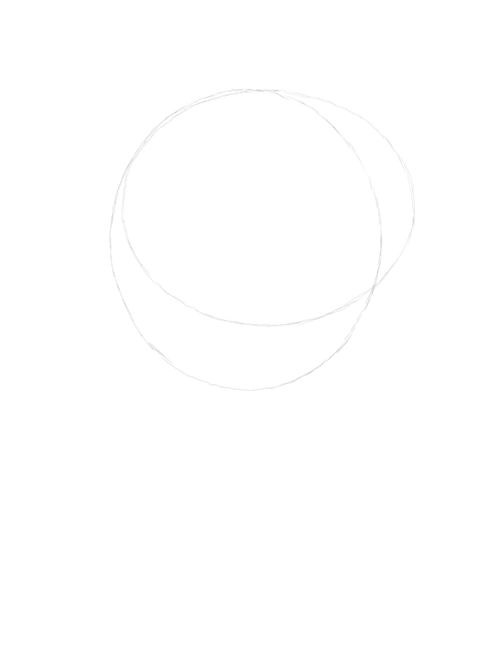
3, Guidelines next. Split the head exactly as we have done before. Eyeline noseline and mouth. Now add another line above the eyeline. The distance between the eye and brow is roughly one twelfth of the oval. This also marks the top of the ear we will draw later. Draw a line at the base of the oval. 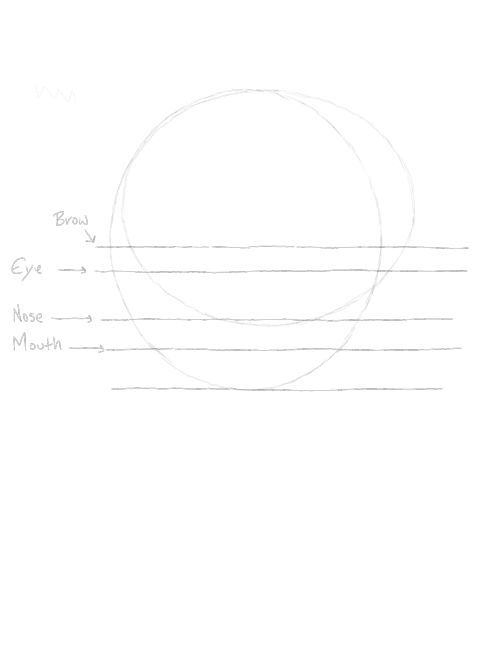
4, I draw the arm and clothing. 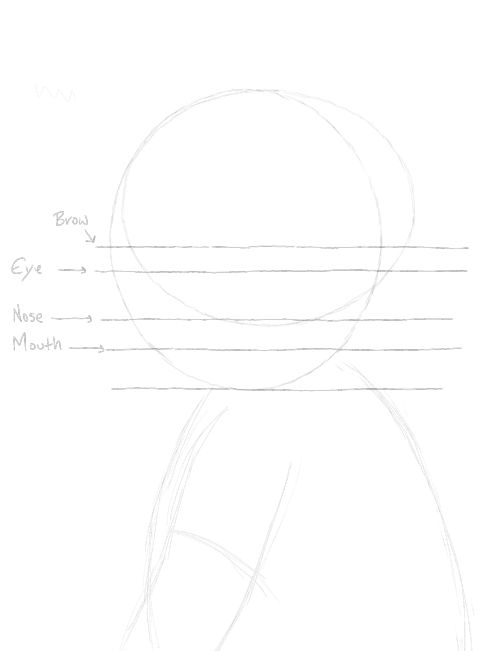
5, Now the face. Note the facial features are on the guidelines. The nose protrudes only as far as the oval. Draw the clothes in more detail. 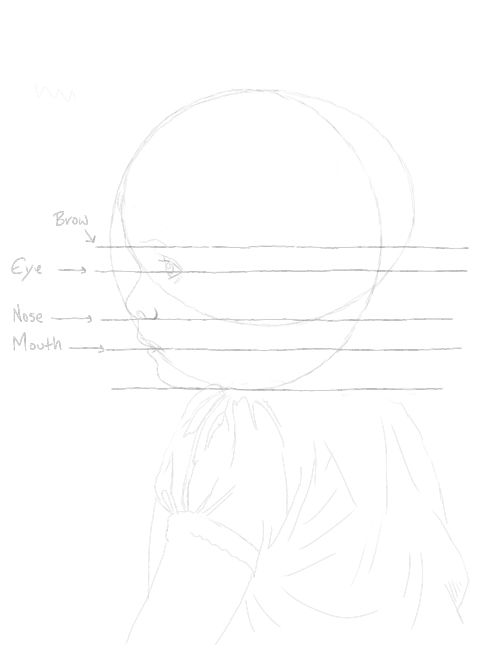
6, Draw a vertical line at the right of the eye. Using the browline and baseline draw a square and then split it into triangles as shown. 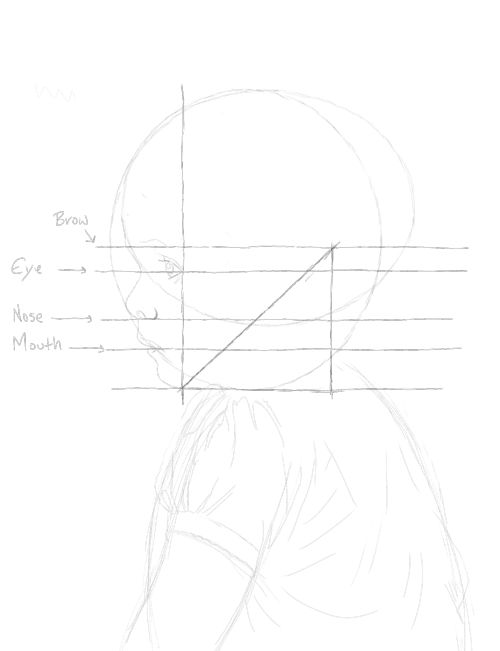
7, Finish the head and hair using the second oval. Now the ear. You see how the ear nestles at the top right corner of the square. It reaches down to the noseline. The bottom of the ear stays in the bottom triangle. The top of it curves down no further than the top triangle. 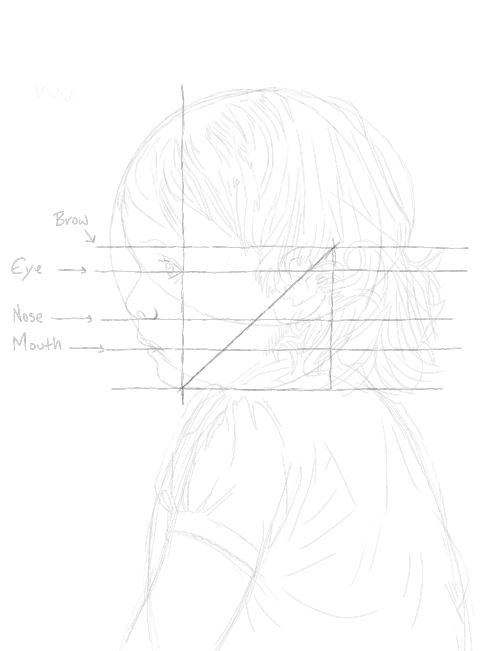
8, The final drawing. 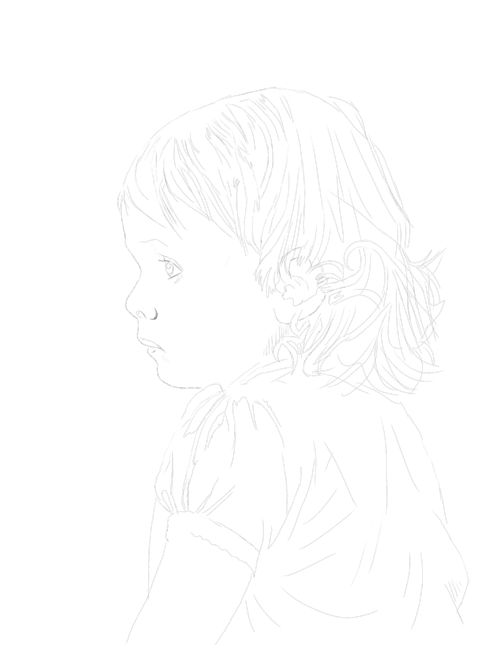
Remember these guidelines to Drawing Children are not set in stone because all faces and bodies are different. Even so using guidelines like this does give you a structure to work within. Never become a slave to this though. Learn these rules and then break them or adapt them to each child you draw. Your good judgment must always rule. Now get drawing children with confidence!
Return to Drawing People Return from Drawing Children to Home
|
