


|
Drawing Faces - The Male
Drawing Faces is more easily accomplished by using basic shapes intelligently. I will explain exactly what I mean by this as we progress through the tutorial. I used 150gsm cartridge paper, a Winsor and Newton putty rubber, 2b and 6b graphite pencils. This drawing was done as a study before I embarked on a portrait. Portraiture is an old and still valued skill. Recognising faces is one of the earliest things we learn as babies. We never stop looking for faces all around us. Stare at a carpet, a wall or even stains on a wall and your brain will start to conjure eyes, noses and mouths of all shapes and sizes.
1, After studying the facial features of my subject for several minutes I decide on the best oval shape. It is, you will see, a long oval quite flat at the top and bottom. I indicate the neck although my goal is really the features of the subjects face. 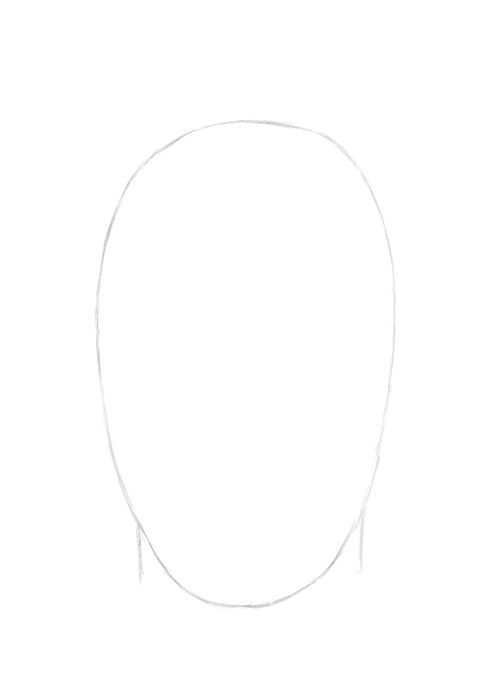
2, I draw a line indicating the eyeline. Depending on the angle you may have to place the top of the ears at the level of the eye but in my drawing they happen to line up nicely with the brow. The eyeline is roughly at the halfway point on our oval. This is only approximate. The angle the face is tilted and the individual's characteristics determine where the eyeline is. It varies from face to face. 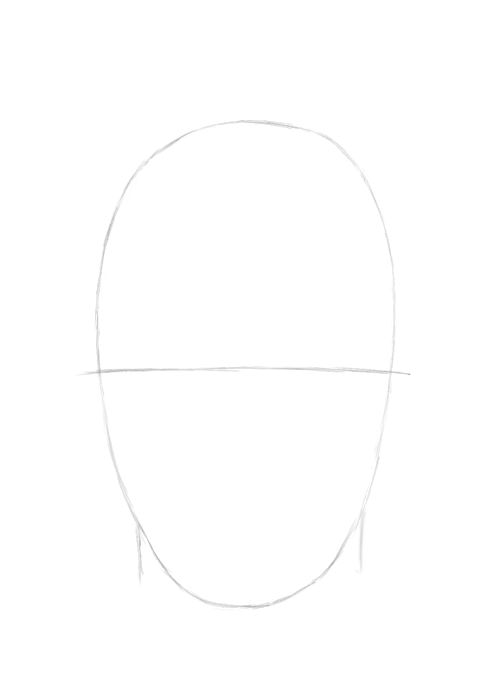
3, Now the noseline which also gives a rough idea of the bottom of the ears. 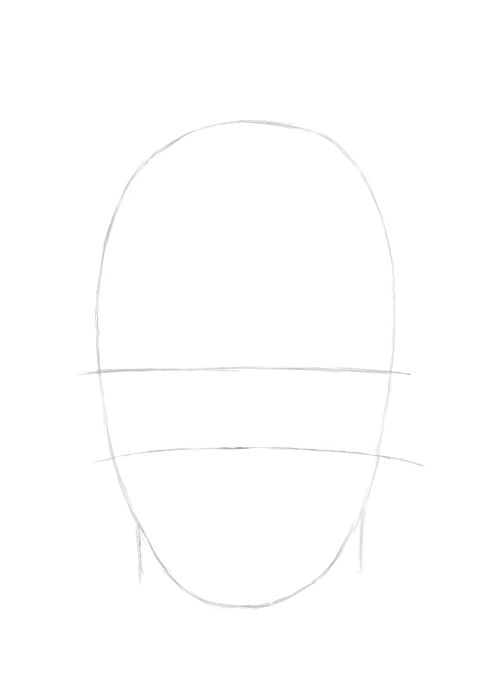
4, The mouthline is quite a way from the chin. Conventionally you may be told to split the area below the nose in two. This is what I mean by intelligent use of shapes. My subject simply doesn't have features that can readily be broken down so conveniently. Your future subjects will all have their own differences. In order to draw or paint them successfully you will need to observe them closely. Your judgement rules. 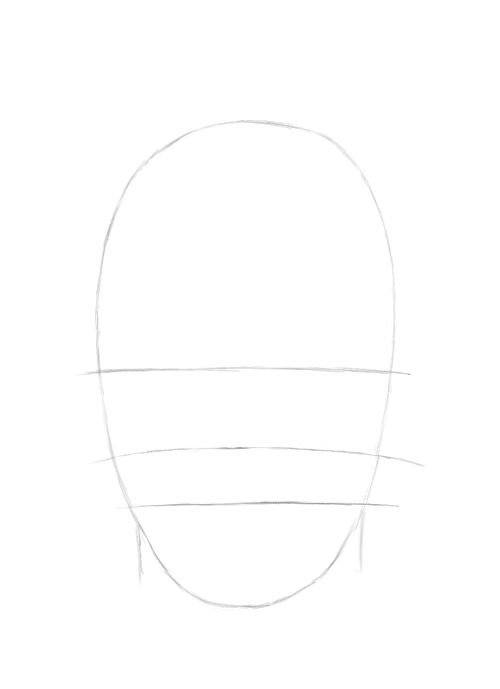
5, Now I split the face down the middle so I can judge the position of each feature. Note the line is slightly off centre because the face is a little turned away from the viewer. Here I draw the line of the brow. As I mentioned before this line also marks the top of the ears. 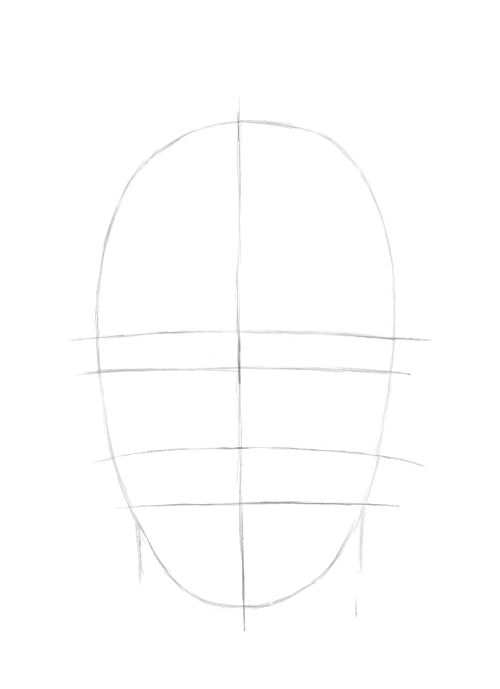
6, I sketch the features carefully, using the guidelines. Note the left eye (from our perspective) is closer to the centreline because of the angle of the face. Eyes are set about one eye width apart and the inner portion of the eyes (towards the nose) are in line with the edges of the nose and the centre of each eye is roughly in line with the edges of the mouth. Remember this is a measurement that is not universal when drawing faces. Adapt it to each face you depict. 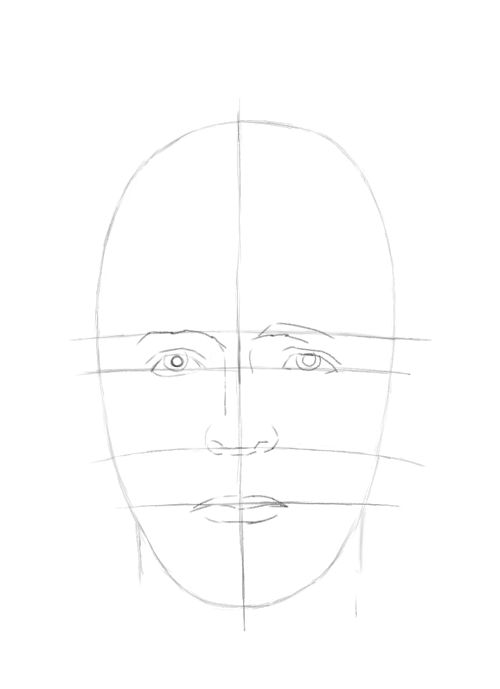
7, I draw the hairline simply. 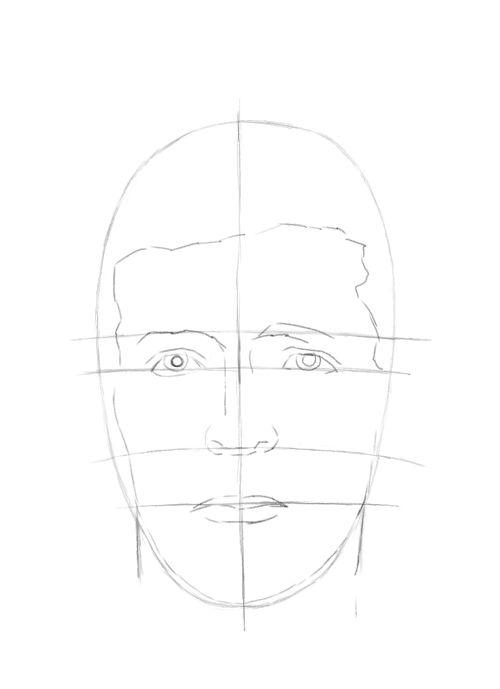
8, Now I do the outline of the outer hair and the ears. They start at the same level as the brow but do not reach the nose guideline. Isn't nature awkward? Always remember drawing faces is about observation. 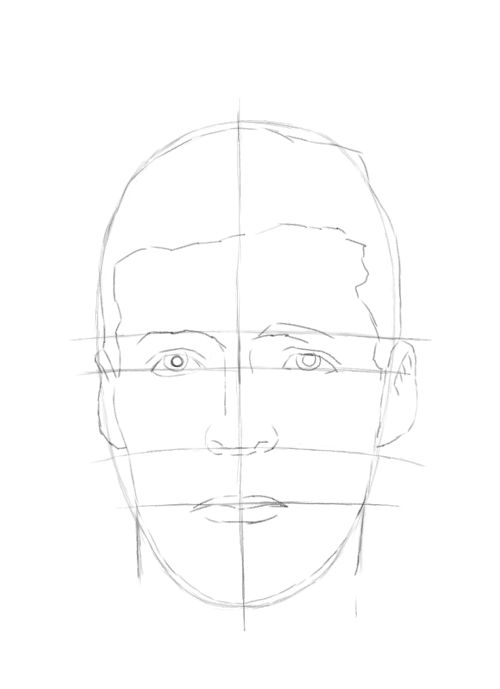
9, I begin to add tone with the side of a 6b pencil. I build up the darkest areas first. 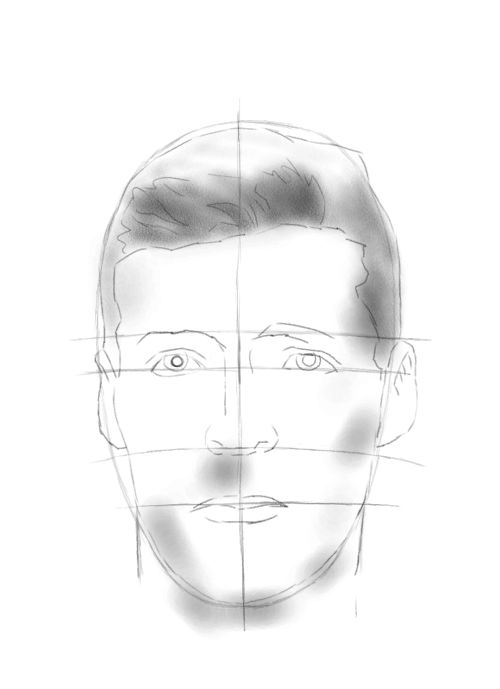
10, Now I add tone to the eyes and brows. 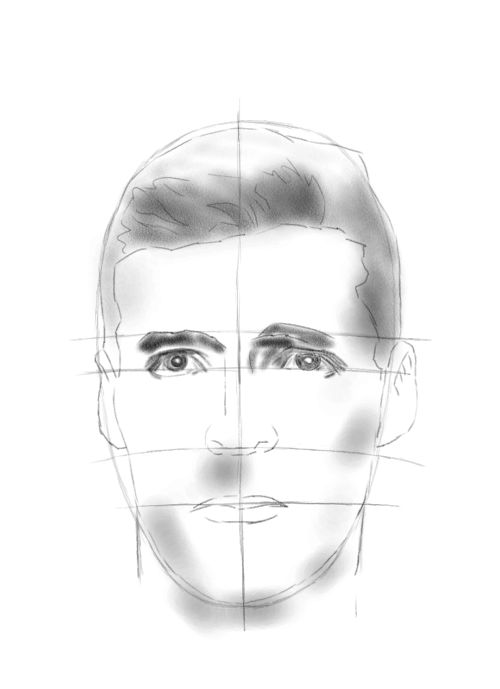
11, Now I add middle tone all over the face.

12, I continue to build up the tones... 
13, ...until satisfied I have the darkest and middle tones correct. 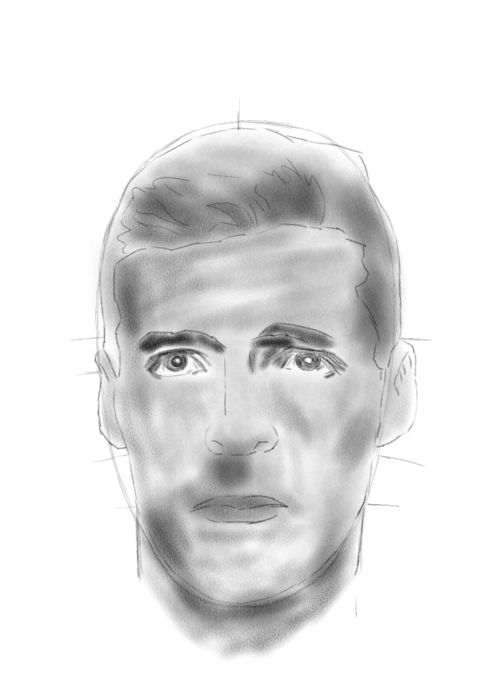
14, With my finger I lightly rub at the surface until the pencil marks are smoothed out. 
15, Now with a chamois cloth wrapped around my forefinger I rub over the darkest areas. If you have enough pencil on the paper you will see these areas darken. Use quite heavy pressure but with fluid, small movements. Add more tone if necessary and rub again. 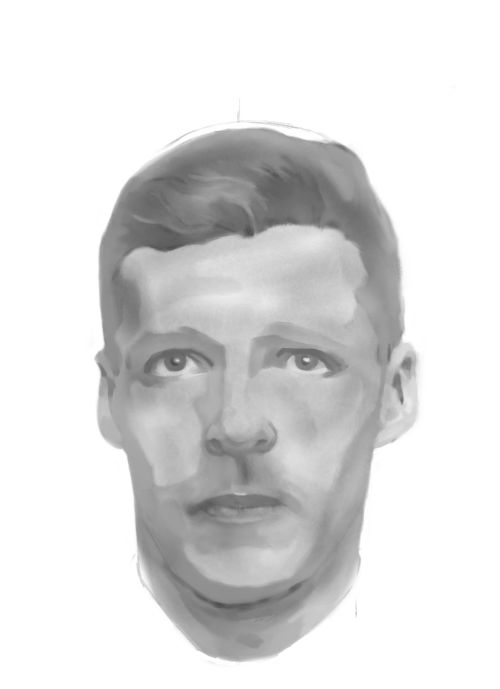
16, Use your putty rubber to remove pencil at the lighter parts of the face. Be very gentle. Go over each part until it suits you. 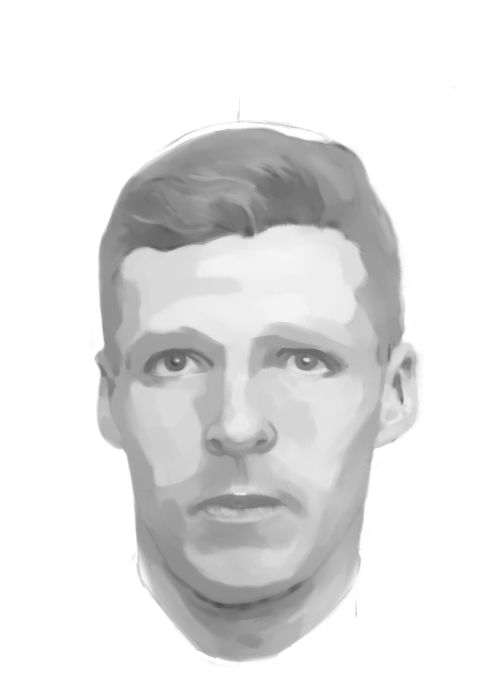
17, Remove any guidelines not covered by the blending stages. 
Your face is now ready to develop as a more detailed drawing or painting. Please practice with different faces of all shapes and ages. Start with the oval and basic guidelines and then tailor them to your subject. Drawing faces is not difficult. Perseverance triumphs!
Return to Drawing People Return from Drawing Faces to Home
|
