|
Eagle Drawings
These eagle drawings were accomplished in different ways. The first is a pen and ink drawing. The second is a more considered piece worked up from a simple breakdown of the bird followed by careful placement of lines and tone.

The first drawing was done with an extra fine rotring art pen on bristol board.

For the second I recommend cartridge paper (as heavy as you can get) and HB and 6B pencils. For the tonal stages you may want to blunt the tip of your 6B and build up tones with it rather than using the side. You will get a better coverage of the paper surface with more life in it.
Eagle Drawings 1Try this without making an initial sketch in pencil. Hold the pen without resting your arm if you can. 1. This is the brow over the eye. Two dashed lines.

2. A circle which will be the highlight on the surface of the eye. The brow which always makes a raptor look as if it is frowning.

3. The head. The lines are very light and drawn quickly.

4. The beak. Nice and sharp.

5. Start to add line as shown. Note the chest feathers are very simple.

6. Continue with the body. holding the pen without allowing my arm to rest and without controlling it too much gives me an interesting line.

7. Here is the leg and the beginning of the second one.

8. Second leg and tail feathers.

9. I draw some wing feathers.

10. I move to the feet and draw the talons.

11. I ink the eye and begin adding shadow on the chest.

12. I add the impression of feathers across the body.

13. I continue to darken the chest by adding lines.

14. Now I strengthen the lines on the wing.

15. I cross hatch on the chest, deepening the dark area and feathers.


16. These close ups show the simplicity of the lines on the birds chest and feet.


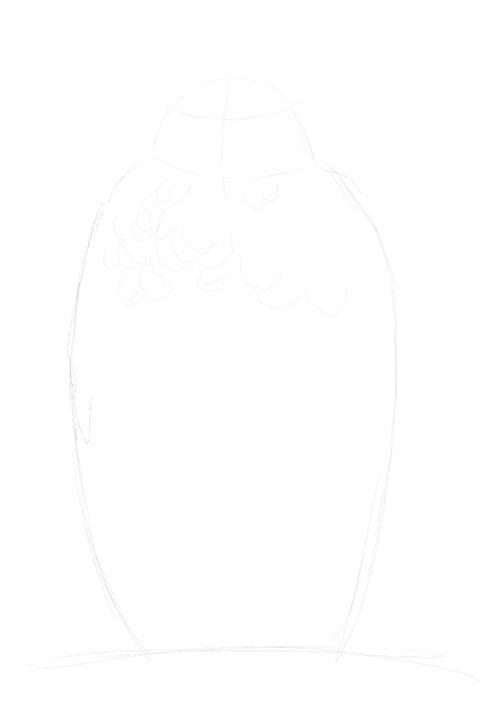
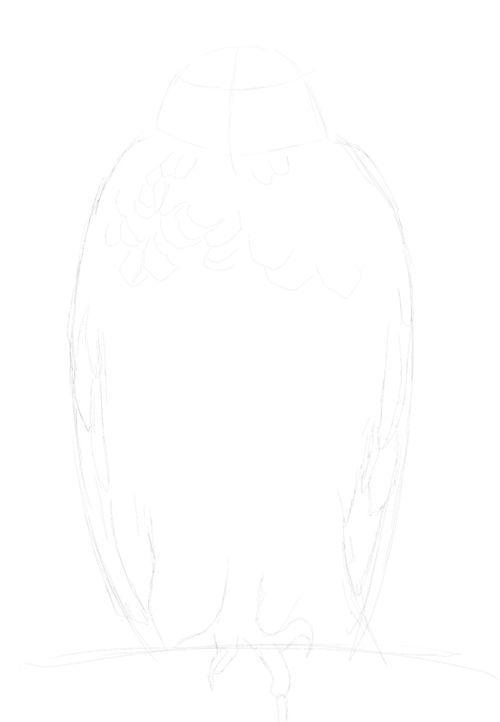
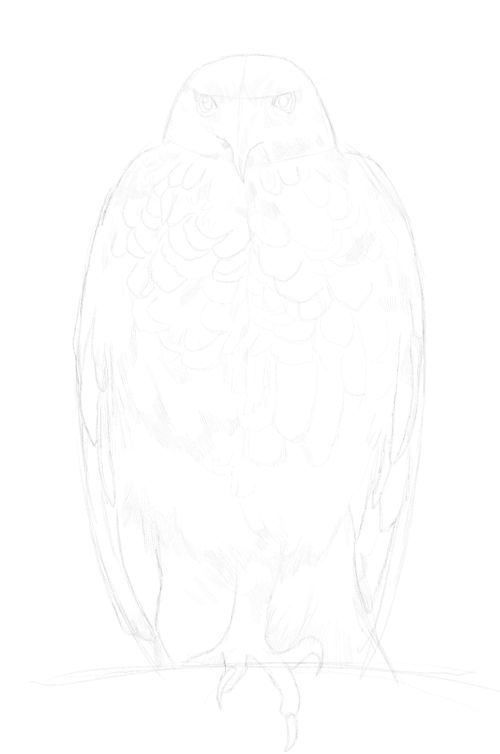
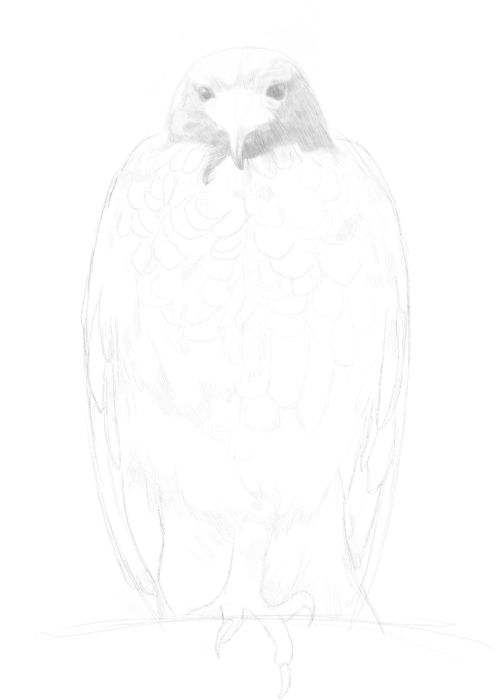
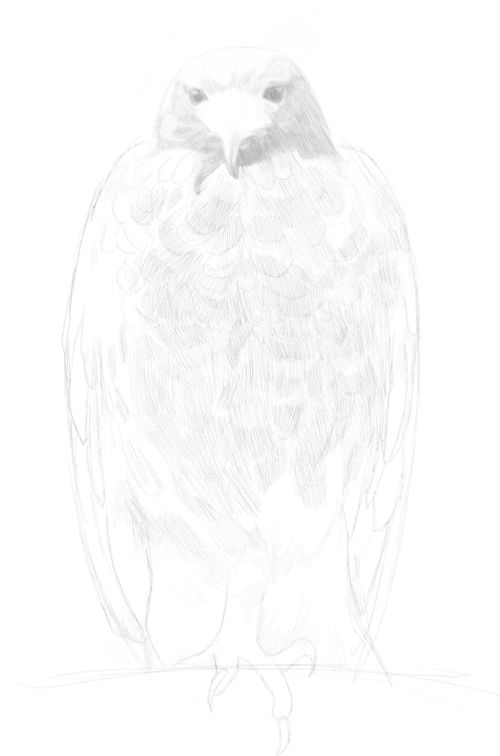
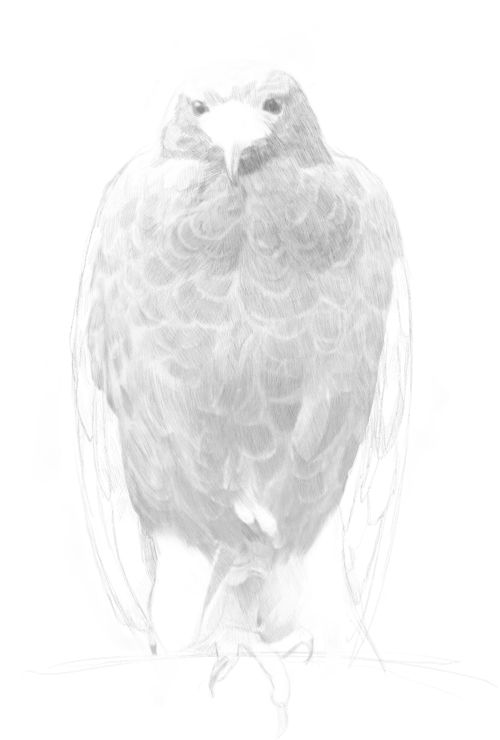
Eagle Drawings 21. A dome for the head.

2. Centre line and eye line.

3. The body is this large area shaped line a fat vase. The line at the bottom is the perch the bird is standing on.

4. Start to lightly sketch in major feathers.
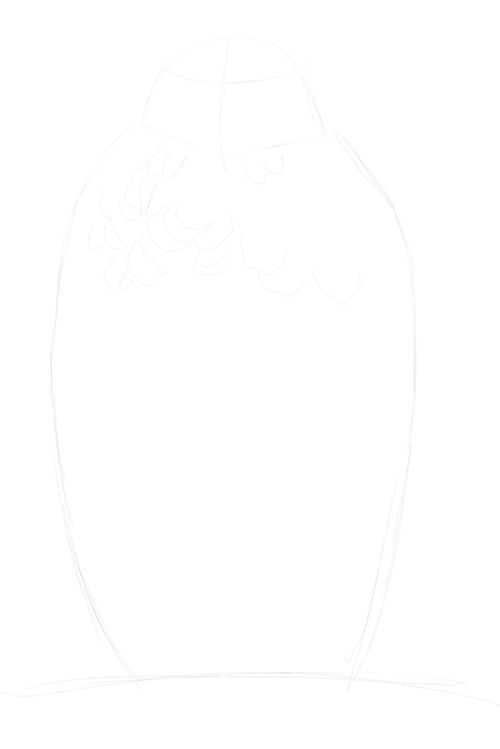
5. Here I continue down the left wing.
6. The right wing.
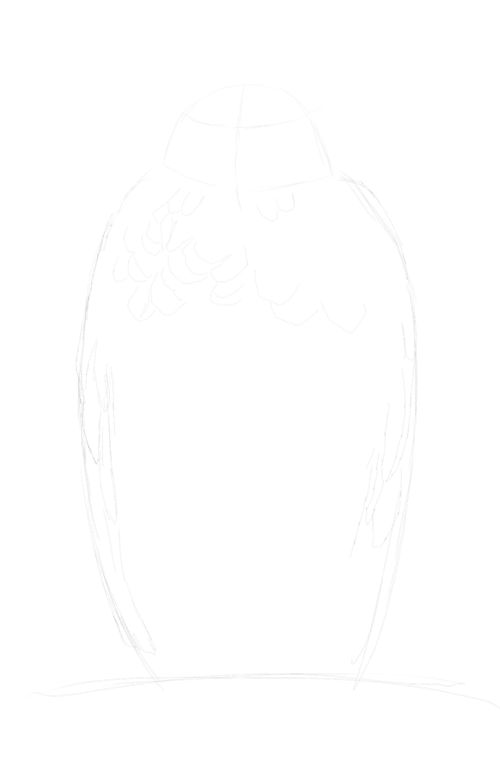
7. Continue.
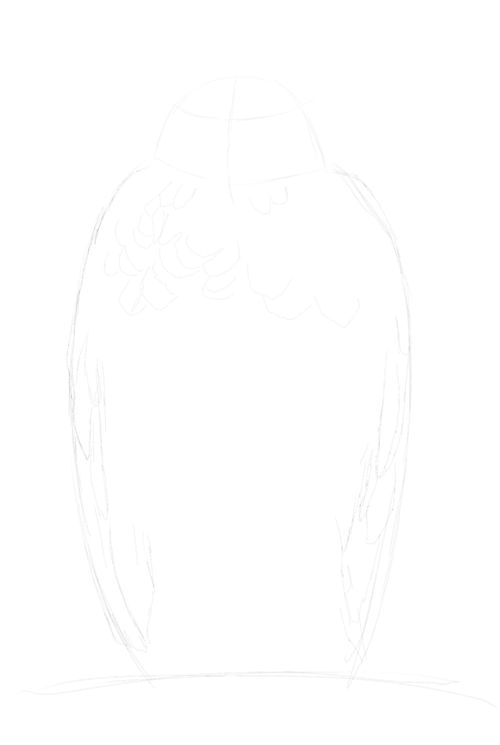
8. Sketch in the visible part of the tail feather and foot. Take your time here getting the foot correct.
9. I just define the head a little more. I will be removing any harsh lines with a putty eraser later if necessary.
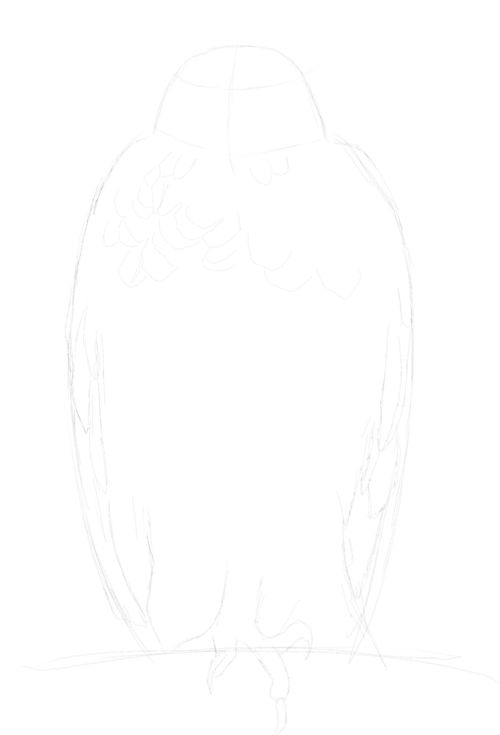
10. I sketch to beak.
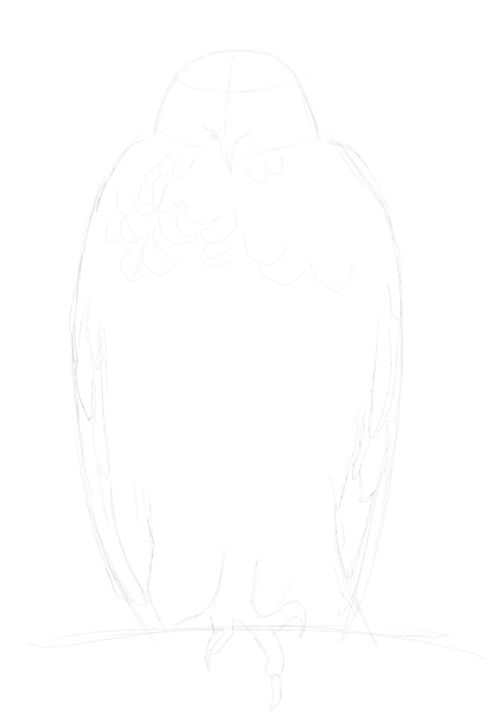
11. I place the eyes under the eye line.
12. I define some of the line work.
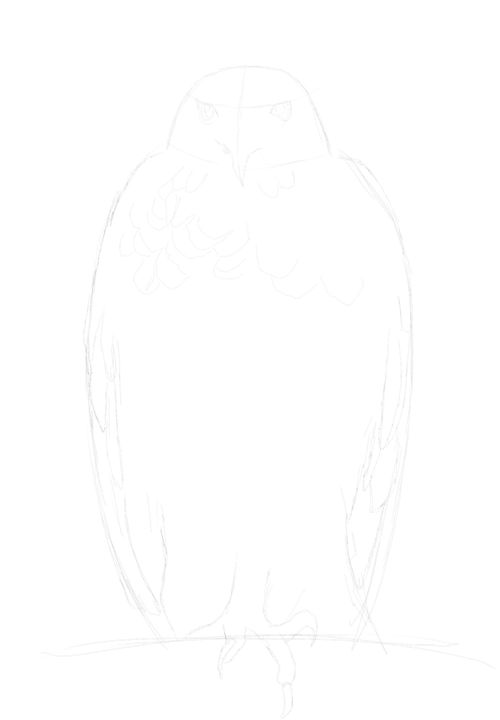
Eagle Drawings 3 - Adding tone.13. Add tone to the eyes. Small downwards overlapping strokes.
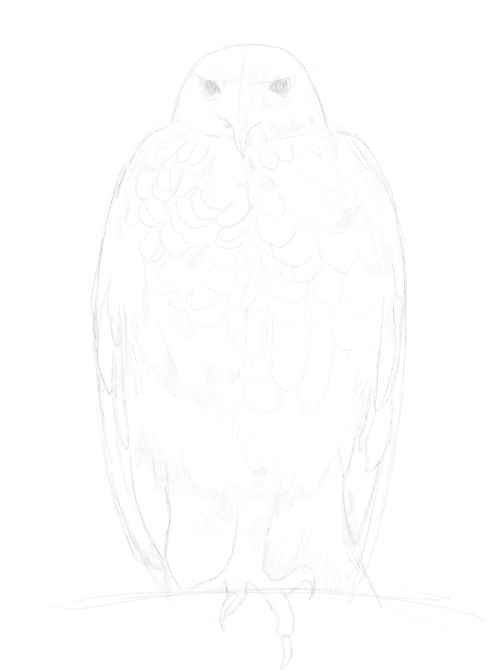
14. Use the same technique to add tone to the lower face.
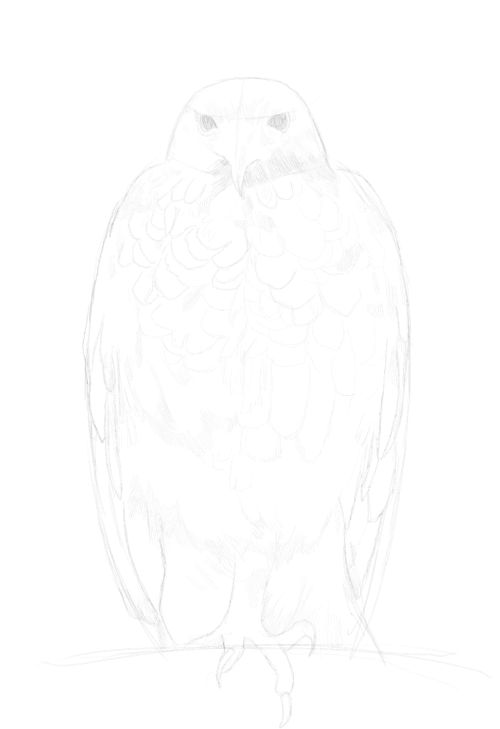
15. Continue as shown. Note in the second illustration the tones are only overlapping lines. They radiate from the centre of the face.
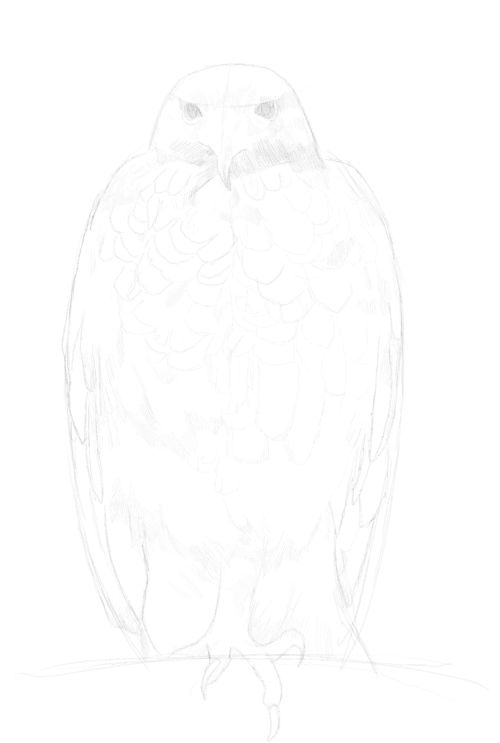
16. Build up the feathers on the chest. Note each feathered area is treated separately.
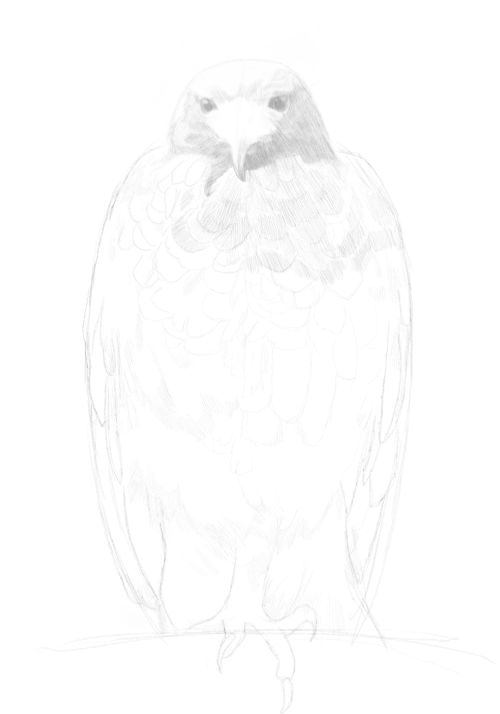
17. Carry on down the breast, keeping your lines loose and light.
18. Now build up until you have a good coverage.
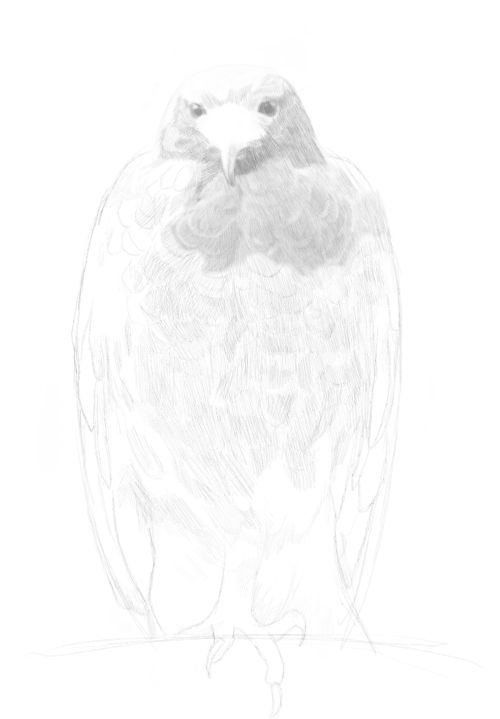
19. Do the same with the rest of the bird.
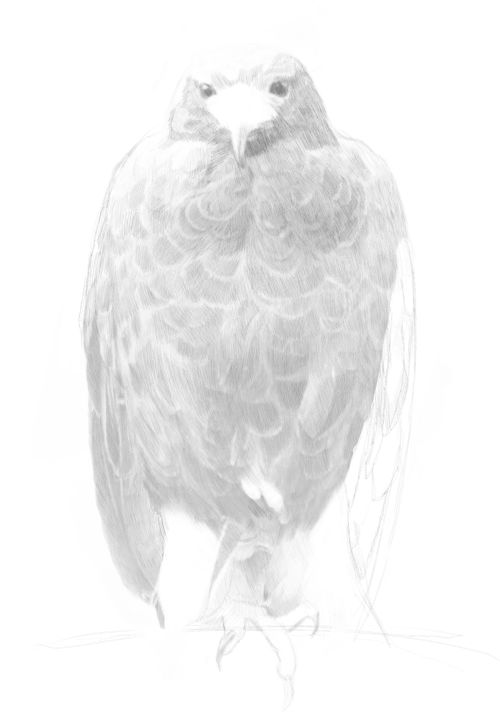

Using lines to build up tone makes the feathered areas look far more complex than they really are.
Return from eagle drawings to Drawing Animals. Home.
|

Drawing Animals Ebook
Learn how to draw animals with this huge 486 page ebook.
Browse other gifts from Zazzle.