


|
Giraffe Drawing in Pen and Ink
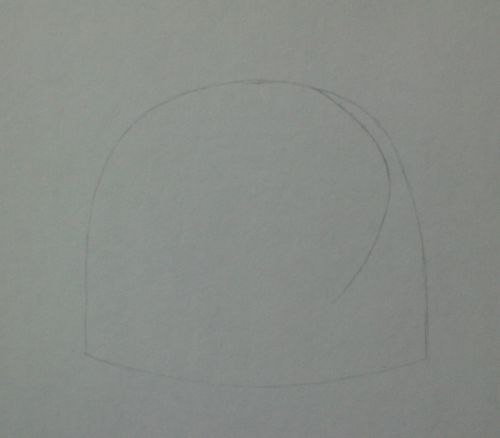
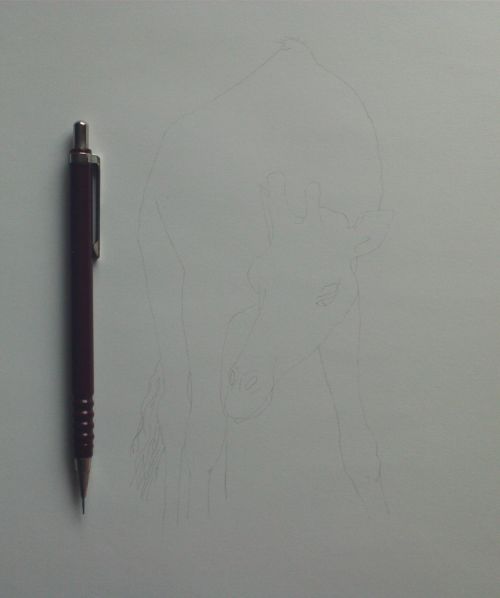
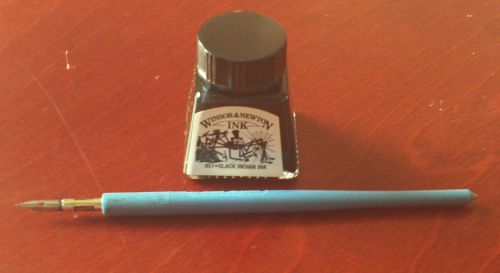
Because this Giraffe Drawing will be completed in pen and ink I approach it somewhat differently than I would a tonal drawing. I want a pencil line that is thin and accurate with no weighting. Weighting is where I use thicker lines to add three dimensional effects such as rounding a form. With this in mind I use a mechanical ( sometimes referred to as technical) pencil with a 0.5 HB lead. This will give me a uniform line. The reason for this is that I will add weight with the ink. The pencil lines will be obliterated and so are only my guides. I used Winsor and Newton black ink with a conte dip pen and a size 0 sable brush for the larger areas of black. Its drawn on Goldline marker paper 70 gsm. Marker paper is quite delicate but has a smooth surface that takes ink well. A sable or artificial soft brush is ideal but I find it takes a dip pen reasonably well as long as you don't apply too much cross hatching and use gentle pressure. Try to find a good angle to draw from. It makes your Giraffe Drawing (or any drawing) look that little bit more interesting. Obviously you're not likely to see a giraffe at the bottom of your garden so draw from a photograph if necessary. My drawing was inspired by a trip to London Zoo earlier this year. You can get pretty close there and this particular giraffe was happy to munch on a bush close to the edge of the enclosure. I managed to get a lot of sketching done before he moved on. Giraffe Drawing Stage 1-The Breakdown. 1, I use a HB pencil on typing paper to breakdown the animal into basic shapes. There's no magic formula here. It's about looking at your reference sketch or photograph and observing the major parts of the subject. I draw a dome where the giraffe's body will lay.

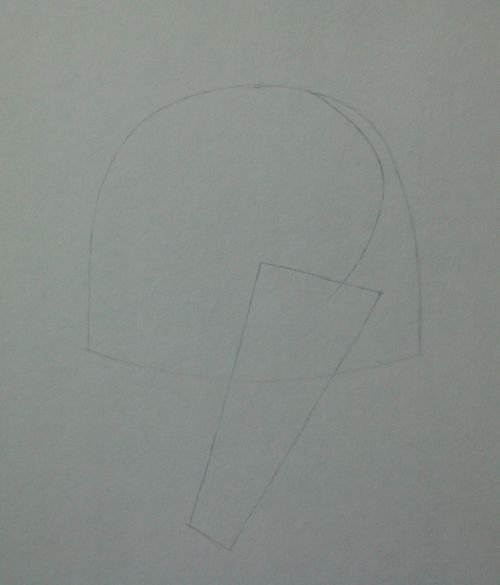
2, This line represents the spine. Get the curve right and this will help to put the animal in correct perspective.
3, This slanted beer glass shape is where the head and face will be. It appears large because the head of the animal is coming towards us.
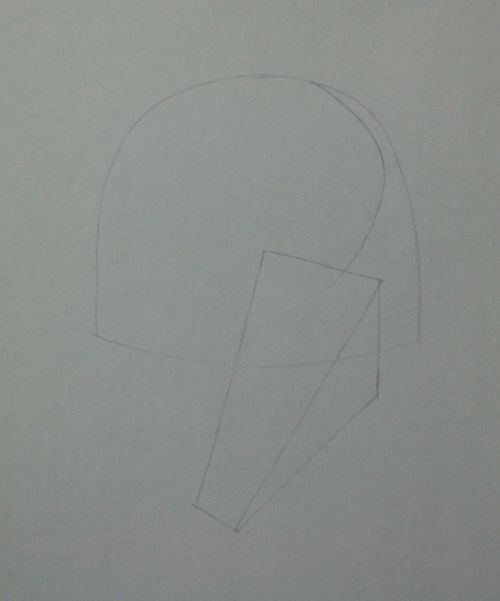
4, Attach a jaw and side of the snout.
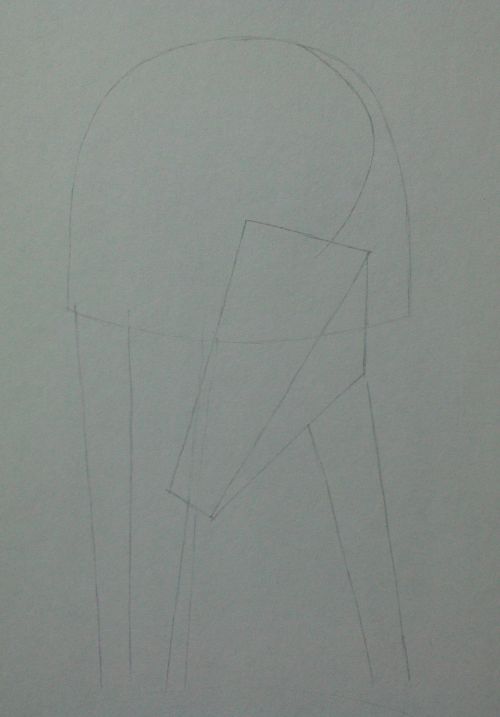
5, The legs are starting to spread as giraffe's do when reaching low. Again there is no magic formula. The leg closest to us will appear thicker should be kept in mind. This is all about close observation.
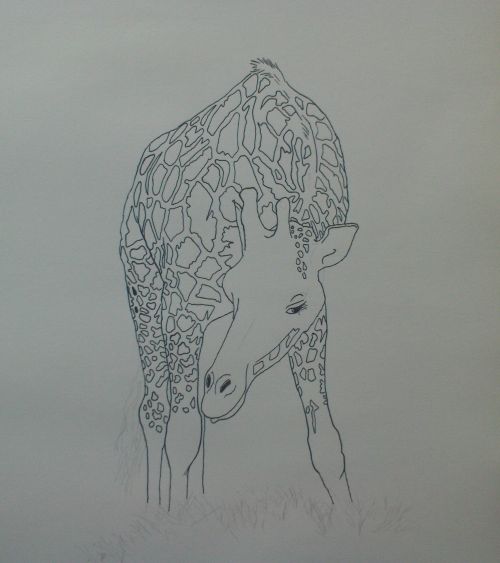
Giraffe Drawing Stage 2-Pencil. 6, I switch to marker paper and use the drawing above as a guide while also looking at my reference sketches. I drew in the outline and major features. The tail is only roughed in. The rotring pencil you can see here gives me a nice uniform line.
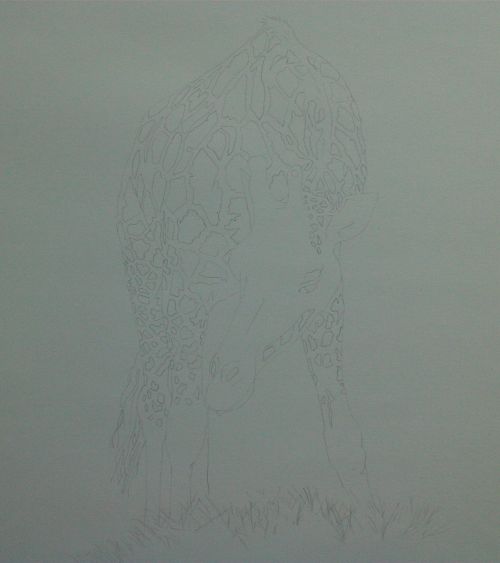
7, I drew the patterns on the giraffe's coat and head as solid objects.

8, The bush in front of the animal shows us the action it is about to take and gives an extra dimension. The context of the giraffe feeding helps to establish it as a real creature in the eyes of the observer.
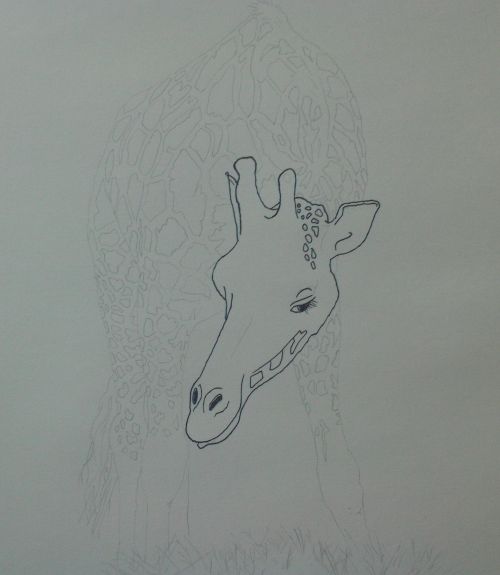
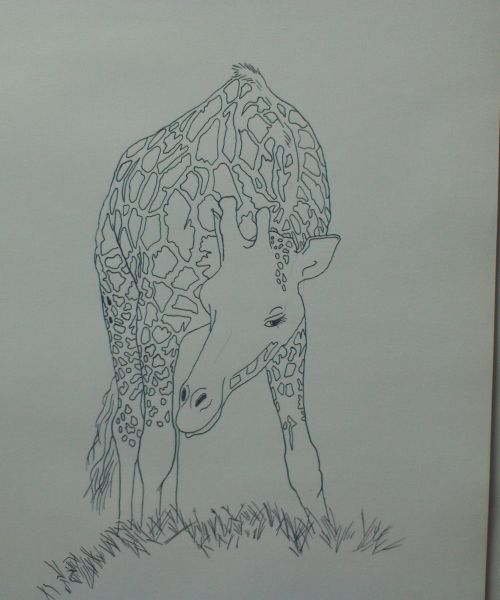
Giraffe Drawing Stage 3-Inking.
9, Now working with a fine ink line I simply follow the pencil. This is quite mechanical with no attempt to pretty the lines. They are merely functional. Keep your pen well filled with ink.
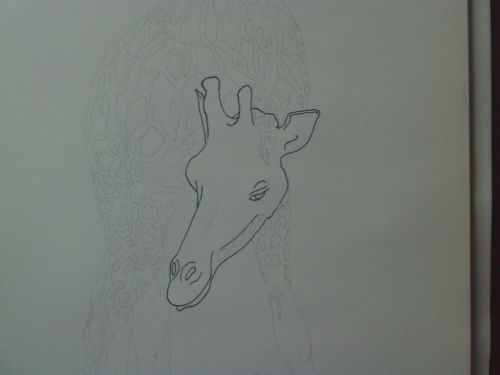
10, I ink the eye and nostrils. See how the dark nostrils have a little highlight created by leaving a tiny sliver of white paper. This aids the three dimensional look. I also ink the patterned areas.
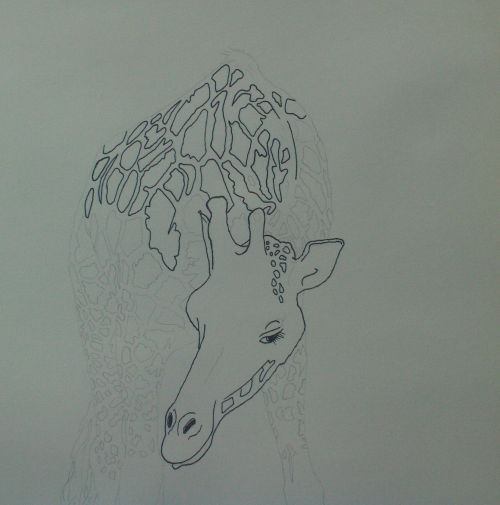
11, I move to the body patterns. Doing these before the outer lines of the body will help me to judge the thickness of line I will need later.
12, I carry on down the legs. Although I am careful to keep the lines neat I know that these patterns will be filled with black and then probably roughened up in the later stages of the drawing.
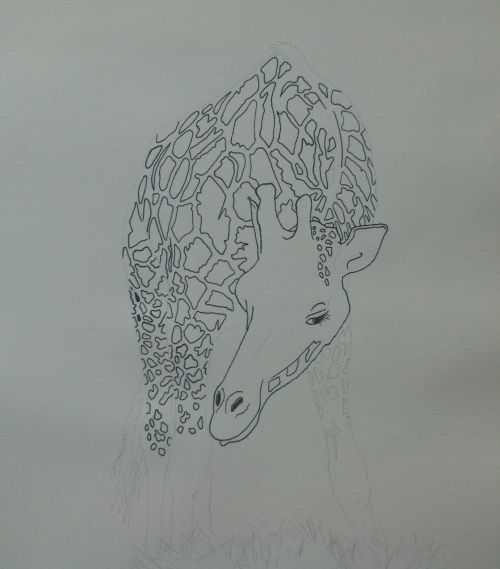
13, Same thing down the other leg.
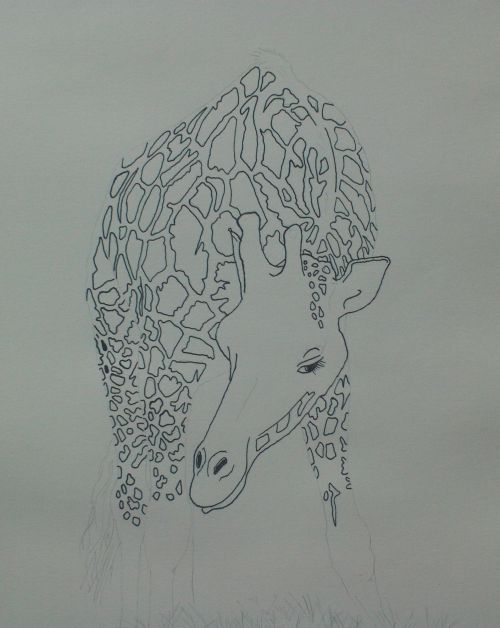
14, Now I turn to the outlines. At this stage I only need to follow the pencils with a thin uniform line.
15, I ink the bush and the tail.
16, I switch to the brush and keeping it well charged with ink I fill the patterns.

17, Finally I thicken lines with the dip pen along the outer lines of the drawing. I add details to the head and rough up the patterning on the coat and head. I also add extra patterns on the head and body where I think appropriate. I add patterns to the rear leg and tones across the drawing with thin lines. Note the ear and jaw in particular. The added details to the eye give it more life. Thickened eyelashes are well known characteristics of the giraffe. The tail gets more lines thickening it up. The largely white head stands out against the black.
Click on the image to see a larger version (opens in another window)

Return to Drawing Animals from Giraffe Drawing Home
|

Drawing Animals Ebook
Learn how to draw animals in pencil with this huge 486 page ebook.

Or ask SBI directly how they can help you build a high traffic, highly profitable online business. Find Success with SBI!