|
Horse Painting. A Study and Practice Painting.A Horse painting exercise. You can try this in oils or acrylics. Acrylics is better. This was partly a practice piece done from a horse sketch and I was also looking to make an animal greeting card from it assuming it went well. I had some pencil horse drawings to refer to and a photograph to help me with the colours although the form of the animal was more important to me. I used cryla CARMINE, BURNT UMBER, ZINC WHITE and IVORY BLACK with a little water. Prolene half inch flat brush and a round 4 for the initial sketch. 1. I start with little strokes to sketch the horse. I did this quickly with ivory black.
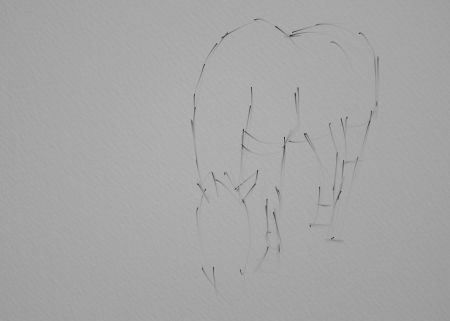
2. I get the shape of the head, being careful to place the eyes correctly.
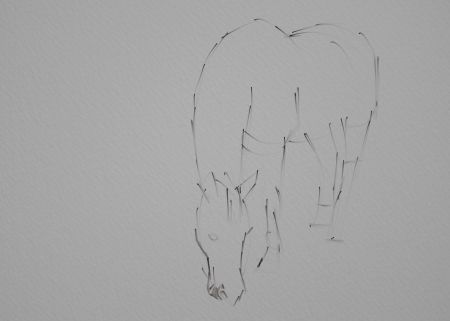
3. I add darks on the legs, nose and tail. I draw the eye and start adding to the ears. I add the beginnings of the a mane which also shows me where the spine is.
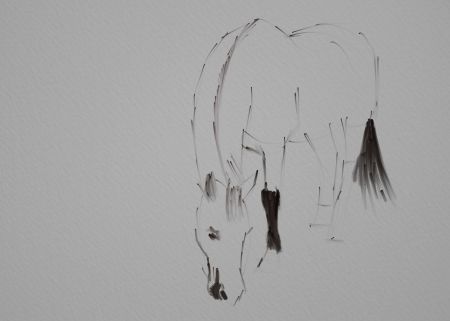
4. I continue adding to the mane and legs.
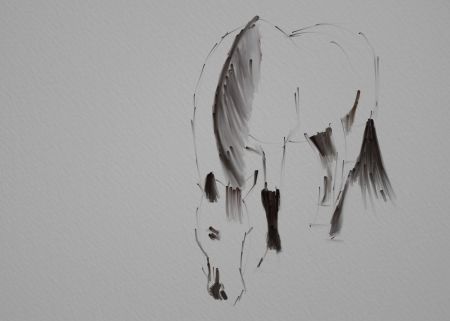
5. I add to the black with carmine and add blocks of colour to the head and body.
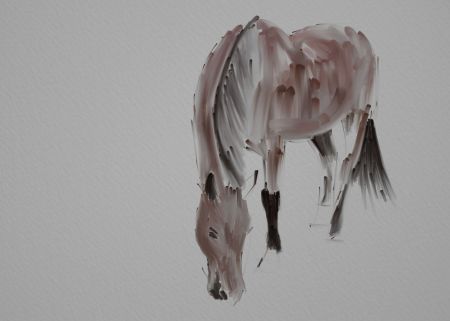
6. More colour on the head working very loosely with thick paint mixed from umber and carmine You have to mix as you are going along judging darker and lighter areas to show the form of the head. If you have got good referece material this is a lot easier.
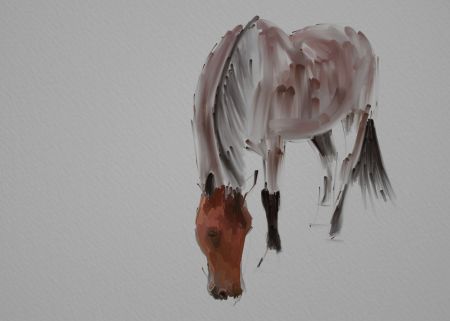
7. Same with the body, blocks of colour added quickly and overlapping. Plenty of paint added vigorously. Starting at the top with lighter colours and getting darker as we reach the stomach. There isn't a lot of thought put into it. I basically make the paint darker under the animal with carmine, umber and ivory black and lighter on top by adding carmine and white.
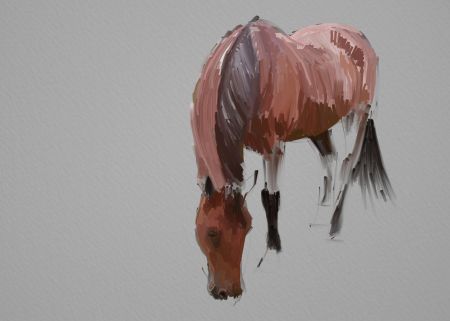
8. I paint the legs taking care with the contrast between the darker and lighter areas. The feet are much lighter.
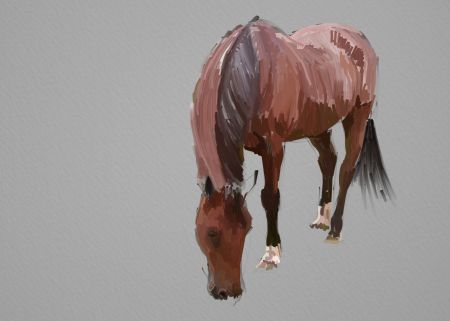
9. I paint the ears trying to get the shape right but not totally accurate. I want a nice loose effect. You can get this by being well prepared with your reference photos and sketches and working from them spontaneously with paint.
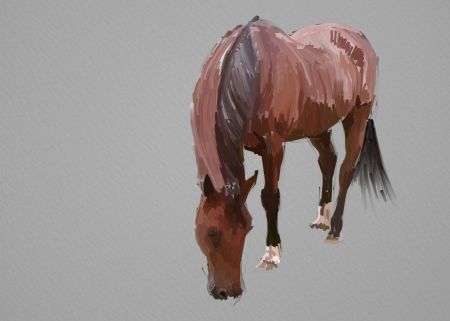
10. I add highlights once the paint had dried. I may add a flattish or gradated background to finish it off or I might leave it as it is. I like the sketchy unfinished look.
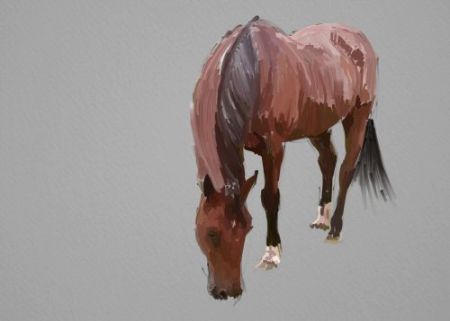
I hope you have enjoyed this horse painting study. go to main
horse painting page
Home
|
Drawing Animals Ebook
Learn how to draw animals with this huge 486 page ebook.
Browse other gifts from Zazzle.


