


|
Horse Drawing.
Horse drawing is ever popular. These beautiful animals embody grace and power. They are a delight to draw and paint from the youngest foal to the mightiest shire horse. Horses can't really be readily broken down into shapes, yet shapes do play an important role. In this lesson I will show you how to combine simple shapes with intelligent drawing. This free drawing lesson will enable you to learn to draw a horse very easily. I used a 2b pencil and cartridge paper. Plus a ruler for shapes. 1, Draw an oval. This is where the nose will go. 
2, Draw a triangle either free hand or with a ruler. 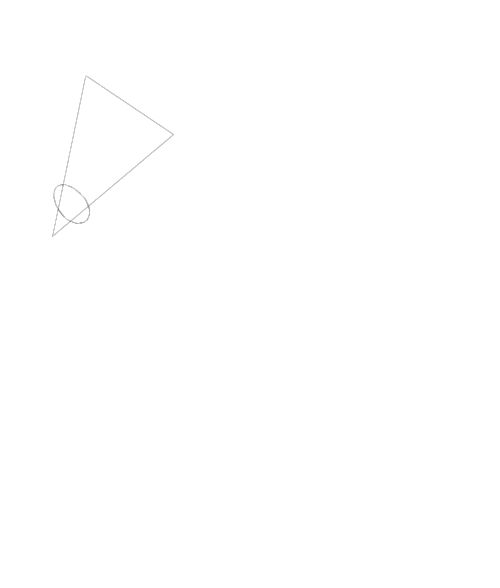
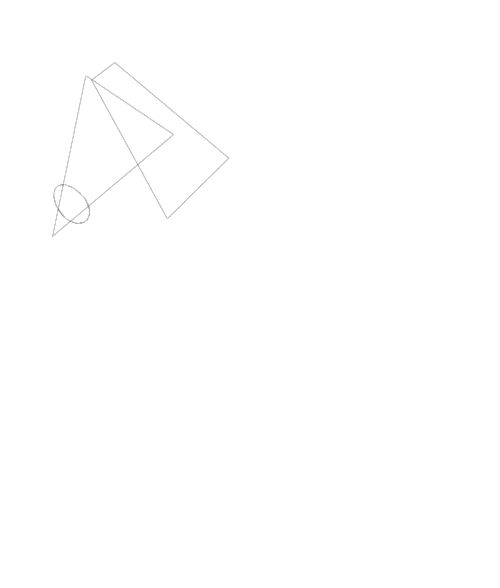
3, Now a rectangle that is thinner at one end than the other.
4, Now draw this as illustrated. This cylinder will give us a good idea of the body shape 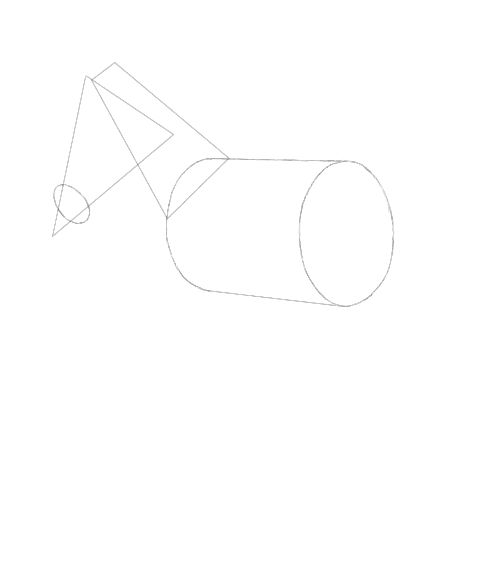
5, Please copy these shapes carefully. The legs (including hooves) are approximately the same length as the body in this example. This is only because of the angle. There is no universal measurement when drawing living beings. If anyone tells you differently they are misguided. If this was true the world would be populated by clones. 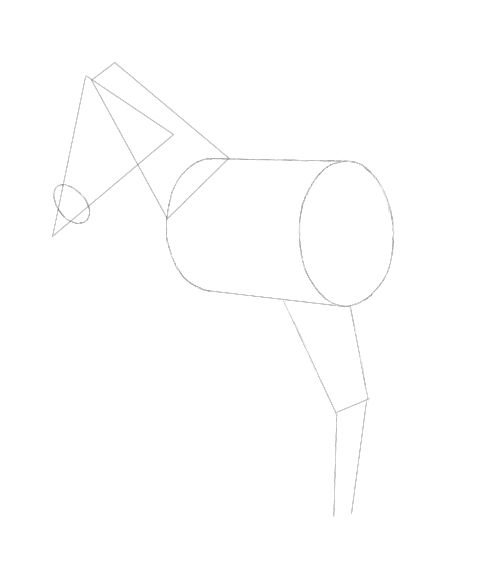
6, A front leg. 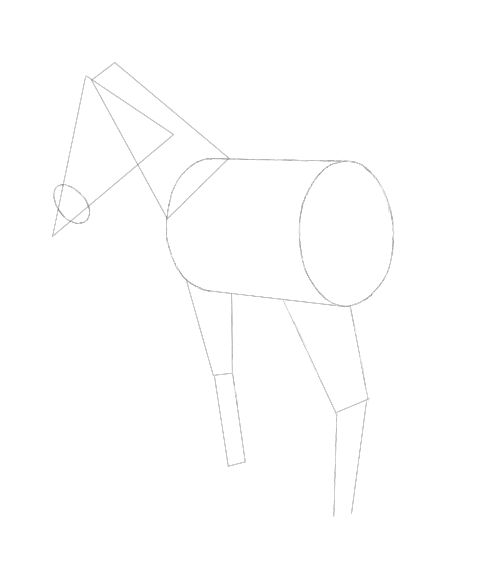
7, The legs on the far side of the body. 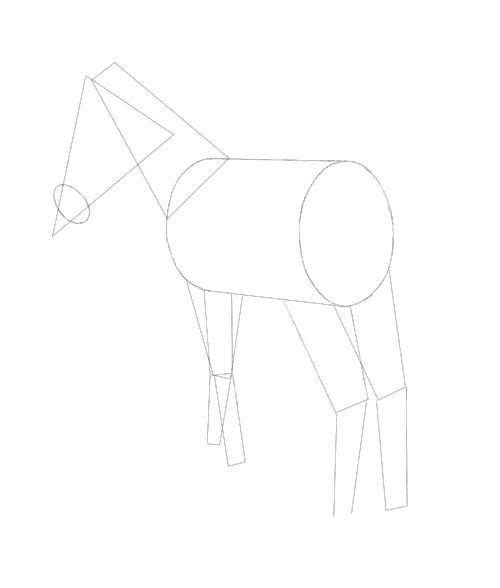
8, Now the hooves which are very simple. 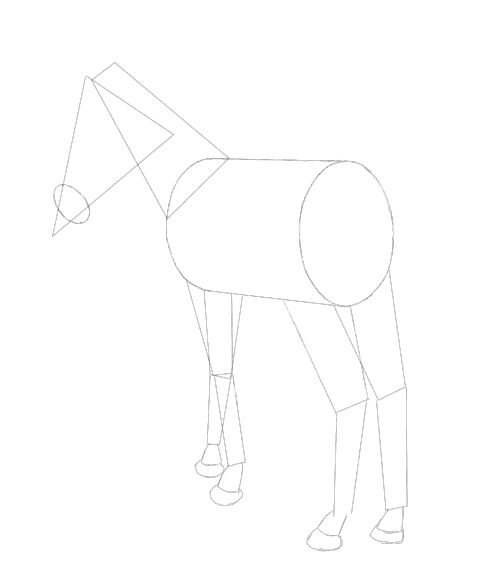
9, These two small triangles will help us position the ears on your horse drawing correctly. 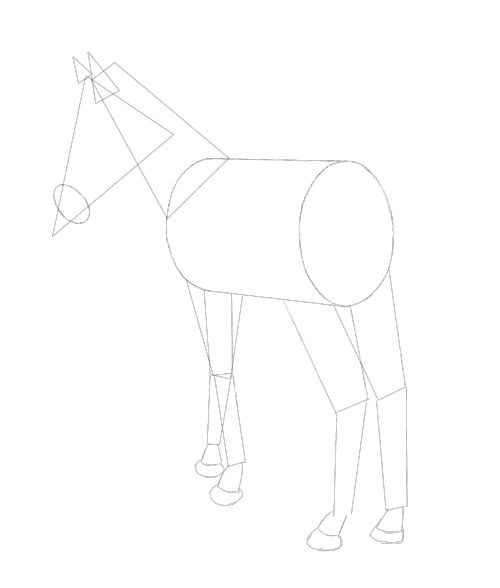
10, We move onto the best bits. Making our horse come alive. Study this illustration. Take your time to draw in the shape of the head, neck and ears. Note the eye is directly beneath the nearside triangle. You see how the shapes are guiding our decisions but not dictating exactly where we draw. This is extremely important when drawing. Take as much time as you need. Erase any mistakes as often as necessary. Please do not get frustrated. Every error is a mini free drawing lesson in how not to draw which is every bit as valuable as how to draw.
11, We draw the trunk of the body. Note how I use the length of the cylinder to guide my line but arch the spine of the animal realistically. The stomach distends slightly below the cylinder.
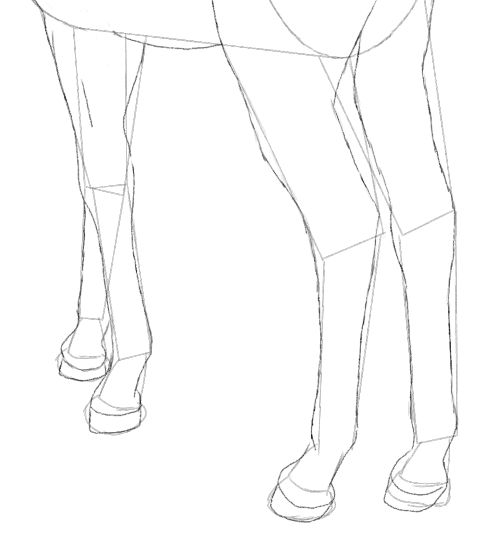
12, Now do the same with the legs. The lines are only there to guide us. They do not make your decisions - You do!
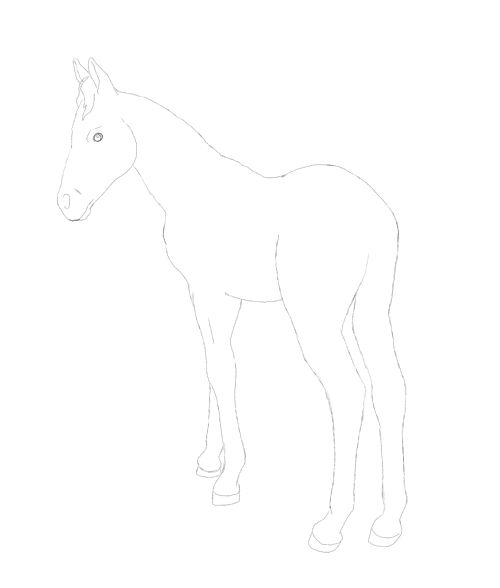
14, Now take a look at the overall design of the horse. Are you pleased with the result? If not, start again. You will already have absorbed some knowledge of how to create a successful drawing. Believe me, I have been there.
15, Take away the guiding shapes and look at the result of your work. I have left the tail out so we can study the legs unhindered.
When ready move onto the next drawing lesson.
This is a quick way to draw the profile of a horse head. 1, Draw a triangle that is quite long. 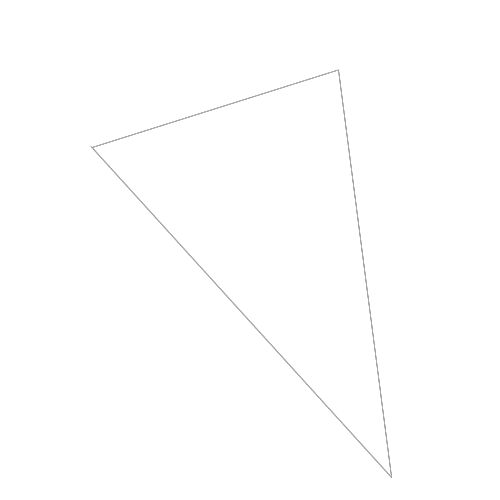
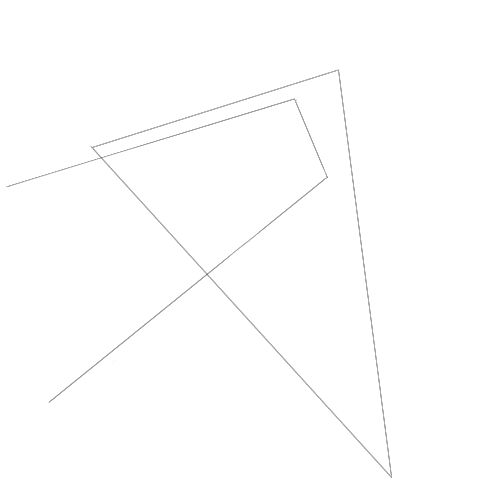
2, Now a rectangle that is thinner one end. The longer end should be left open as this is the neck of the horse. Make sure the shape lays over the triangle as illustrated.
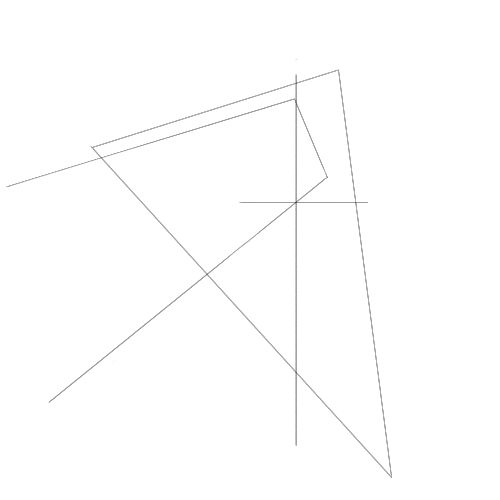
3, Draw a vertical line that crosses the upper right corner of the rectangle.
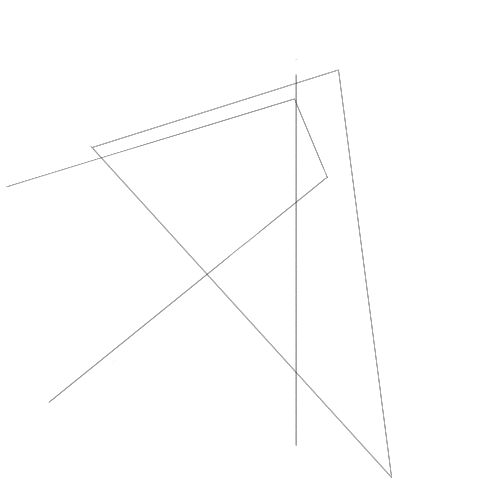
4, Form a cross with a horizontal line.
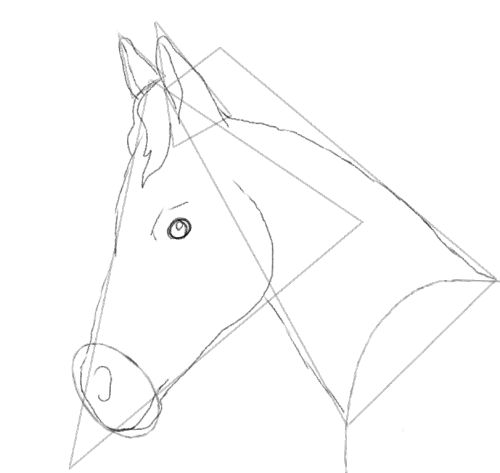
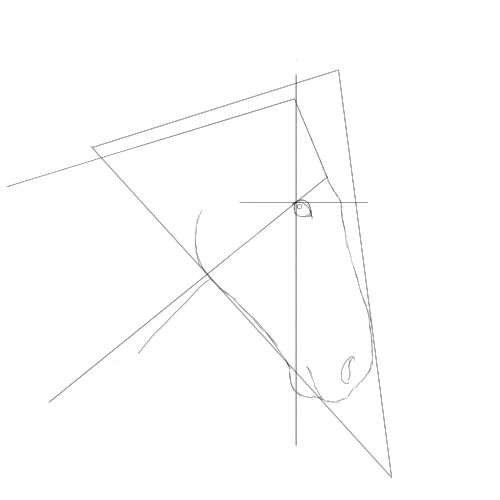
5, Now begin your drawing with the eye. Place it exactly as I have done. A simple oval with a lid and a tiny circle to represent a highlight on the surface of the eye will do the trick.

6, Take a good look at this stage. Carefully note how I use the geometric shapes to determine the natural shape of the head. Note the jaw curves along the left edge of the triangle and then climbs upwards in a steeper curve within the rectangle. The brow is in line with the horizontal line and travels up the narrow end of the rectangle. Every part of the horses face stays within the shapes except for the lower lip.
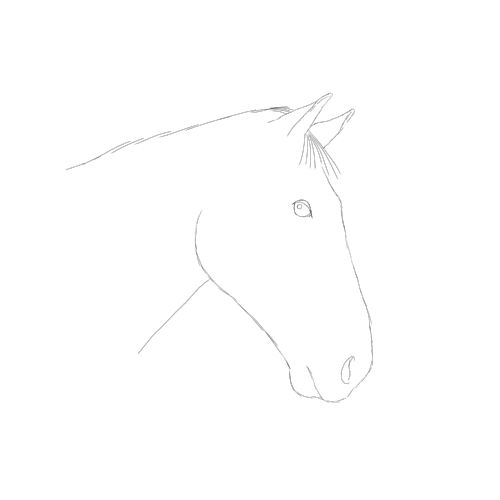
7, The top of the neck is easily drawn along the rectangle. The ears may be a little trickier but try to draw them as I have illustrated. If this is too hard for you right now use the small triangle method I showed you in the first exercise on this page. A few lines gives the impression of a mane.

8, Take the guidelines away and admire your horse drawing.
Our third and final lesson is a step further than the other exercises. I find this helpful when drawing from life. Although I am being neat here and using a ruler to draw shapes to make it easier for you to follow, I encourage you to practice this freehand after you are comfortable with the concept. Shapes can be jotted down lightning fast if we practice the technique. 1, Draw the regular triangle. 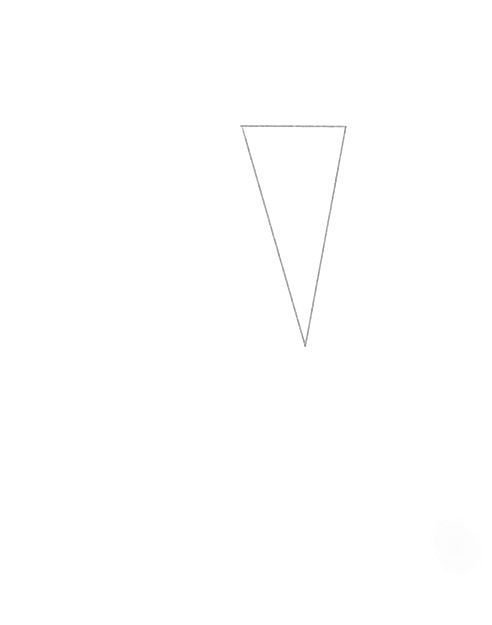
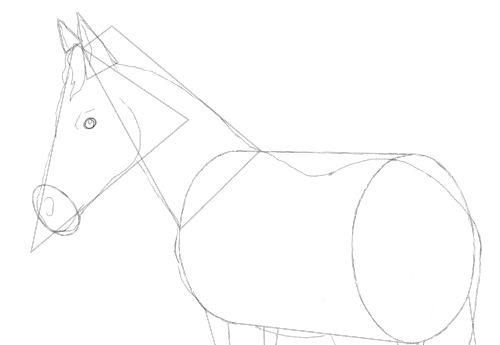
2, A cylinder will give you the body of your horse drawing. 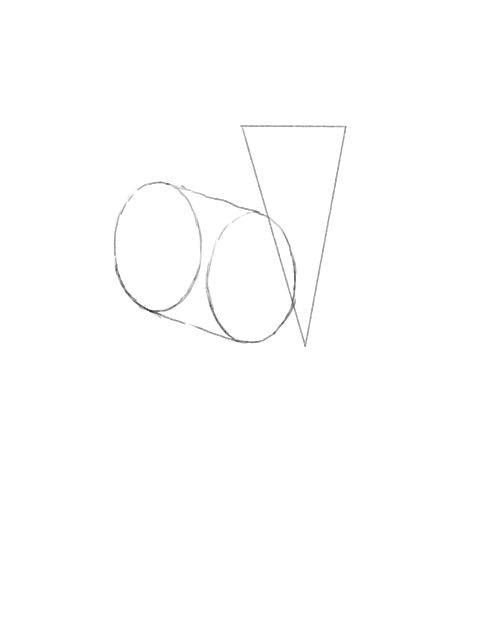
3, I erase the ovals I used to construct the cylinder. We don't need them. 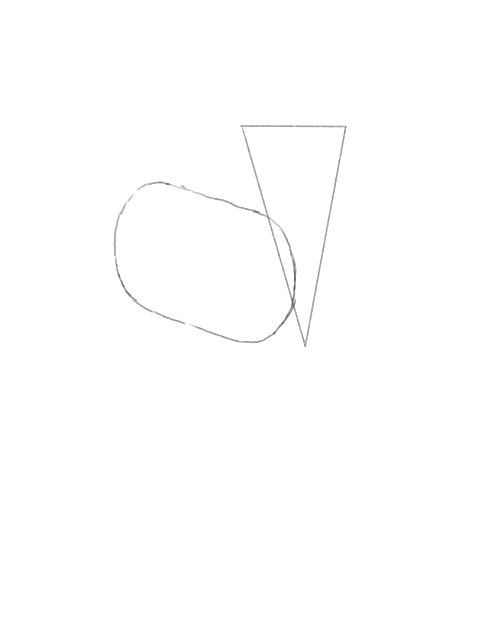
4, This curved line will show us where to place the eyes. The curve reminds us we are drawing a three dimensional creature on our flat surface. 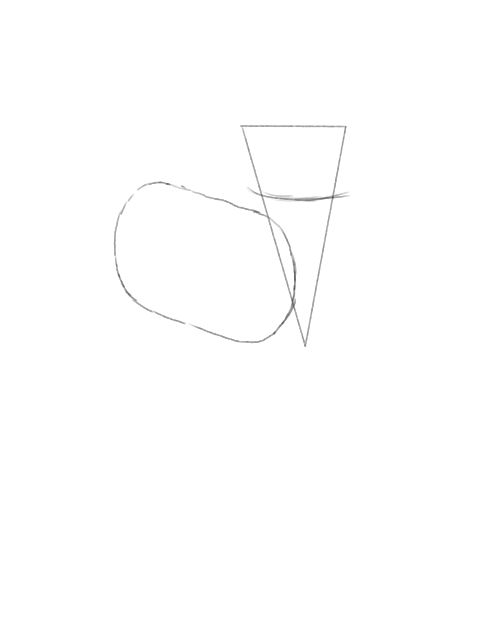
5, The front legs. 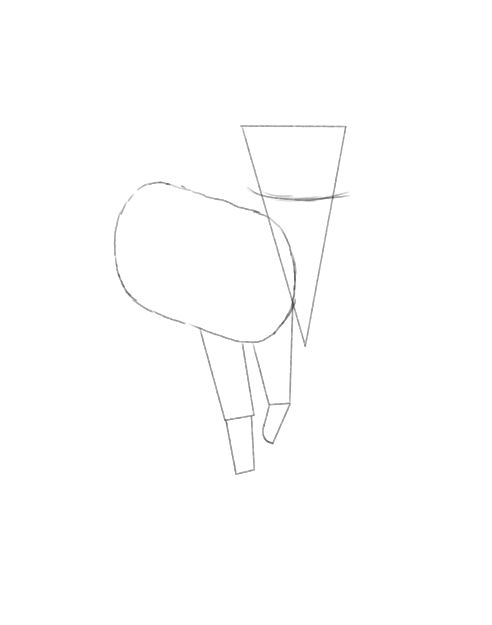
6, Rear legs. 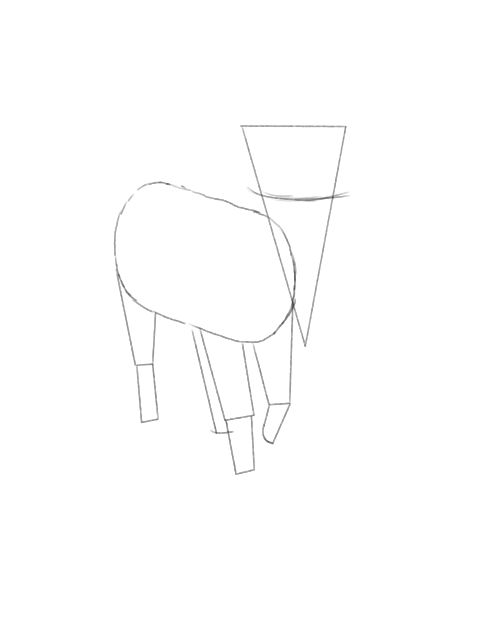
7, Same as in the first lesson, draw in our clunky looking hoof guides. 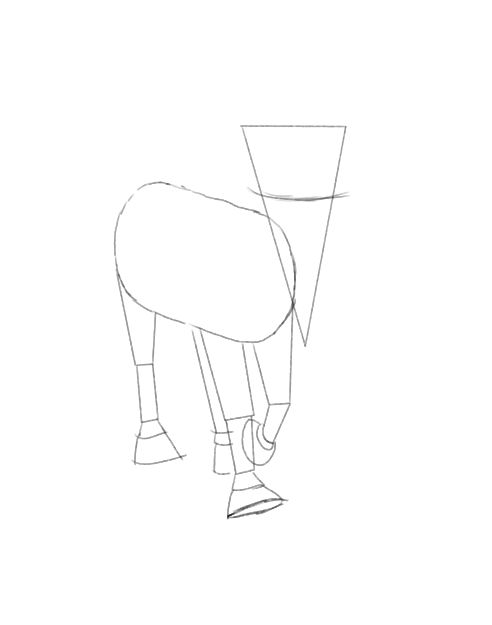
8, Use the triangle and eyeline to sketch the head. I haven't drawn a neck because my horse had such a shaggy mane I couldn't see it. 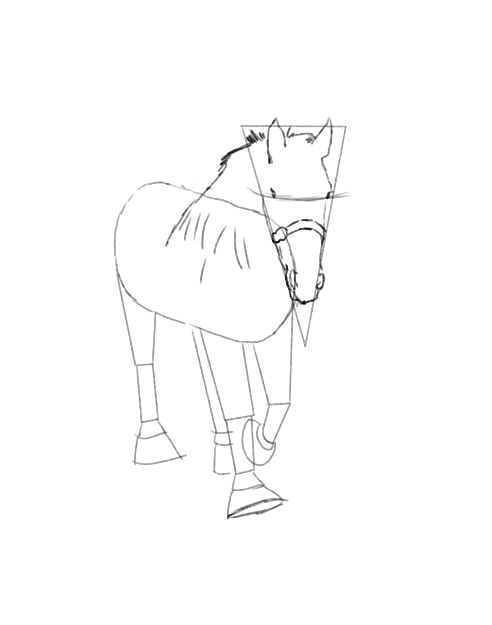
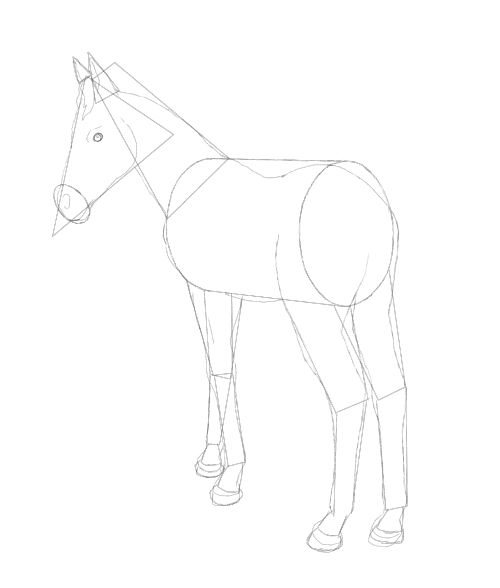
9, Sketch the body and legs. I won't talk you through this. You can do it! 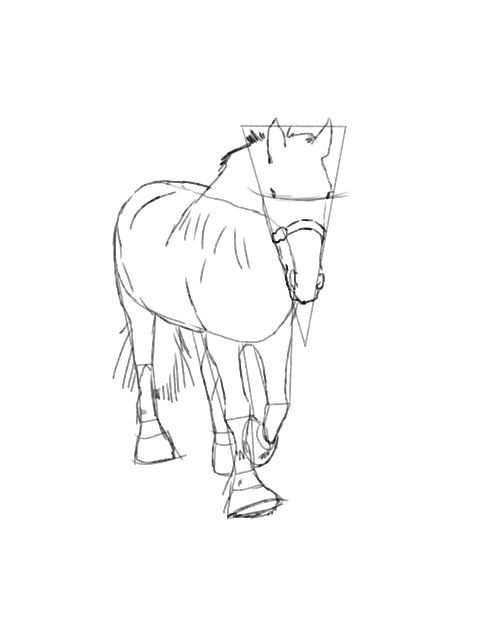
10, Make the guidelines vanish and look at your results. I'm willing to bet you have a pretty decent horse drawing in front of you. If you aren't in agreement take another sheet of paper and try again. 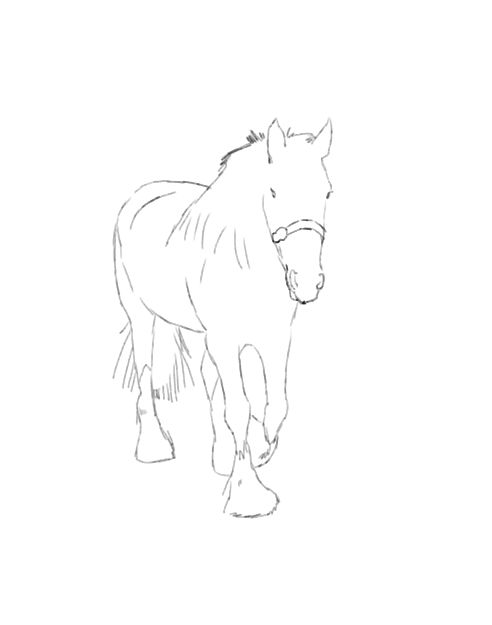
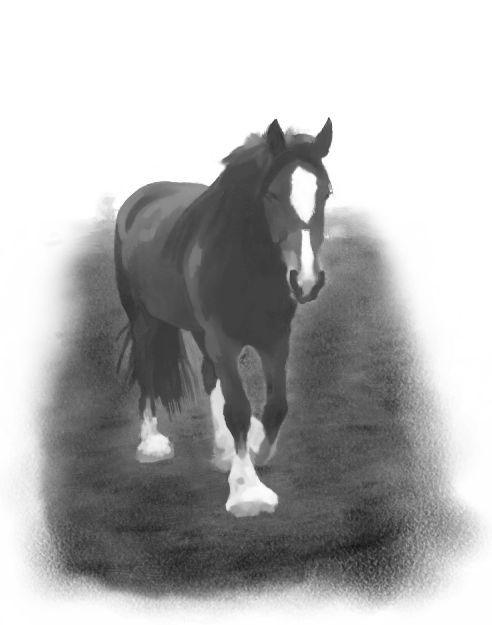
Your horse drawing is now ready for further development. This is what I did with my sketch. I turned it into a pleasing horse drawing with a 6b pencil, some diluted black ink and a little black and white gouache. I will be publishing tutorials on these mediums in the near future. If you have enjoyed this three in one lesson in how to draw a horse please take a look at other drawing lessons on from-sketch-to-oil-painting.com
Return from Horse Drawing to Drawing Animals Home
|
